This article explains how to set up the integration between your bot and amoCRM.
Connecting
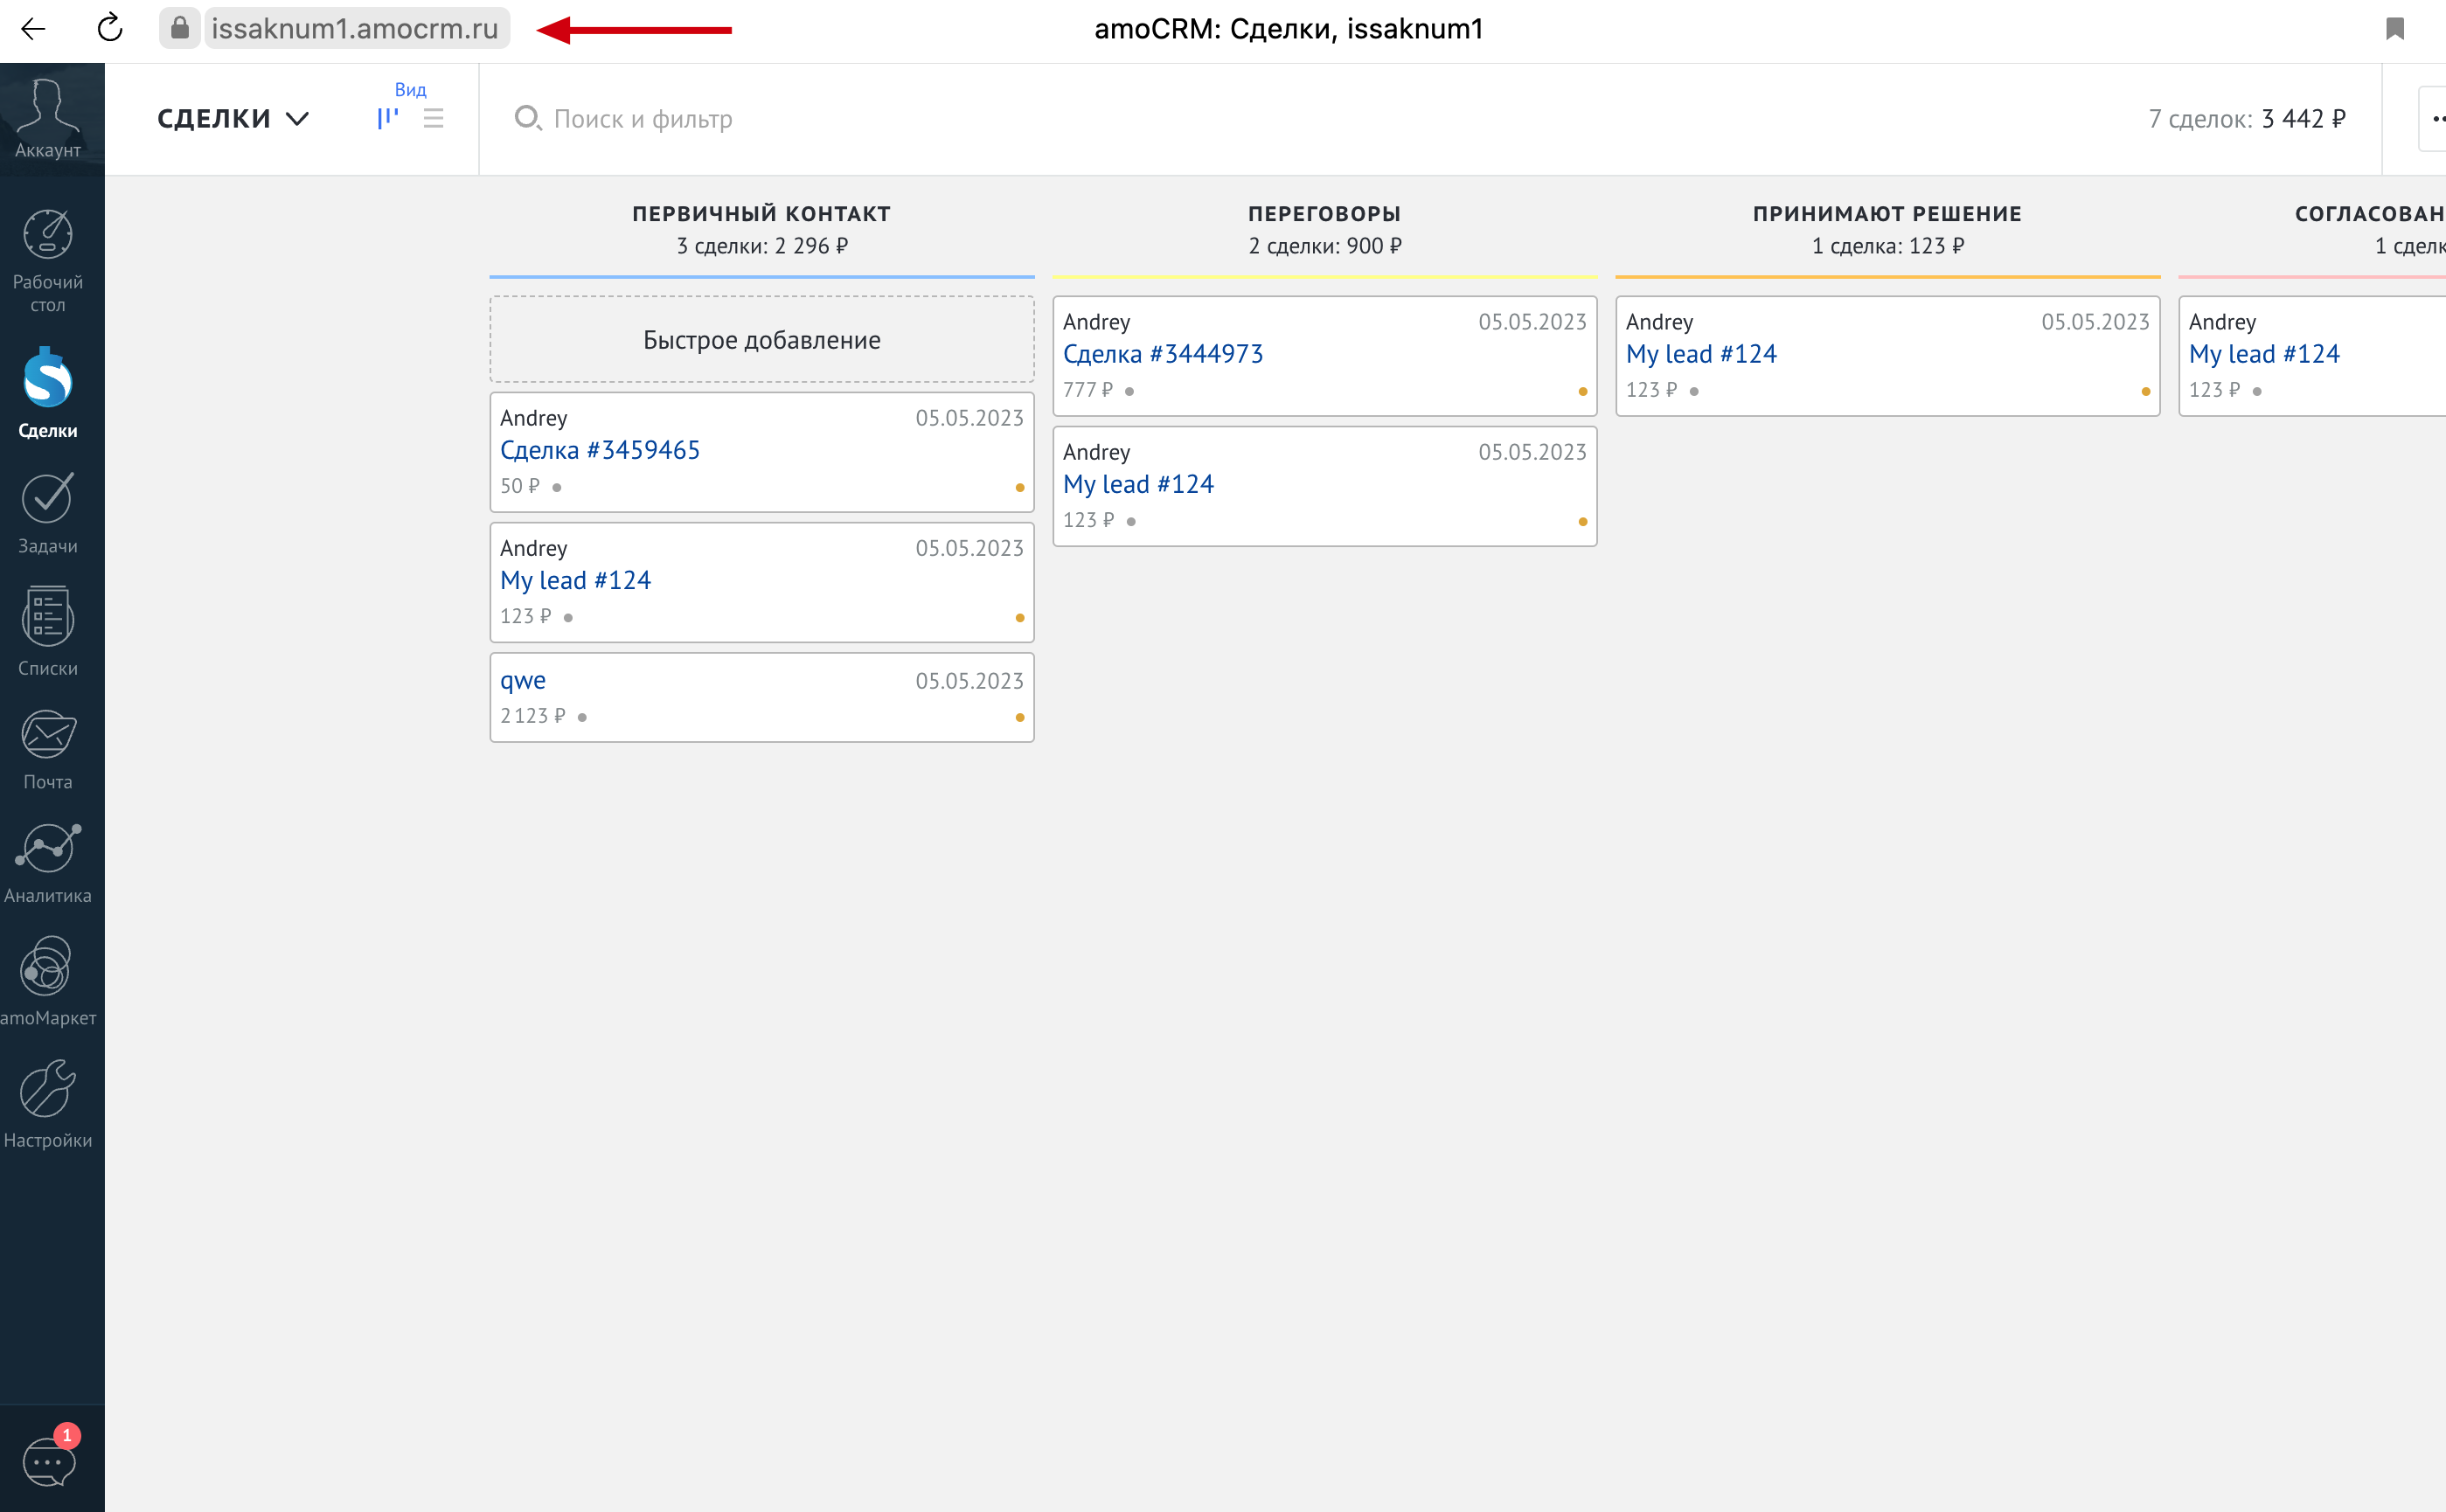
1. Log in or sign up to amoCRM and copy the link to your account, for example: https://*******.amocrm.com/
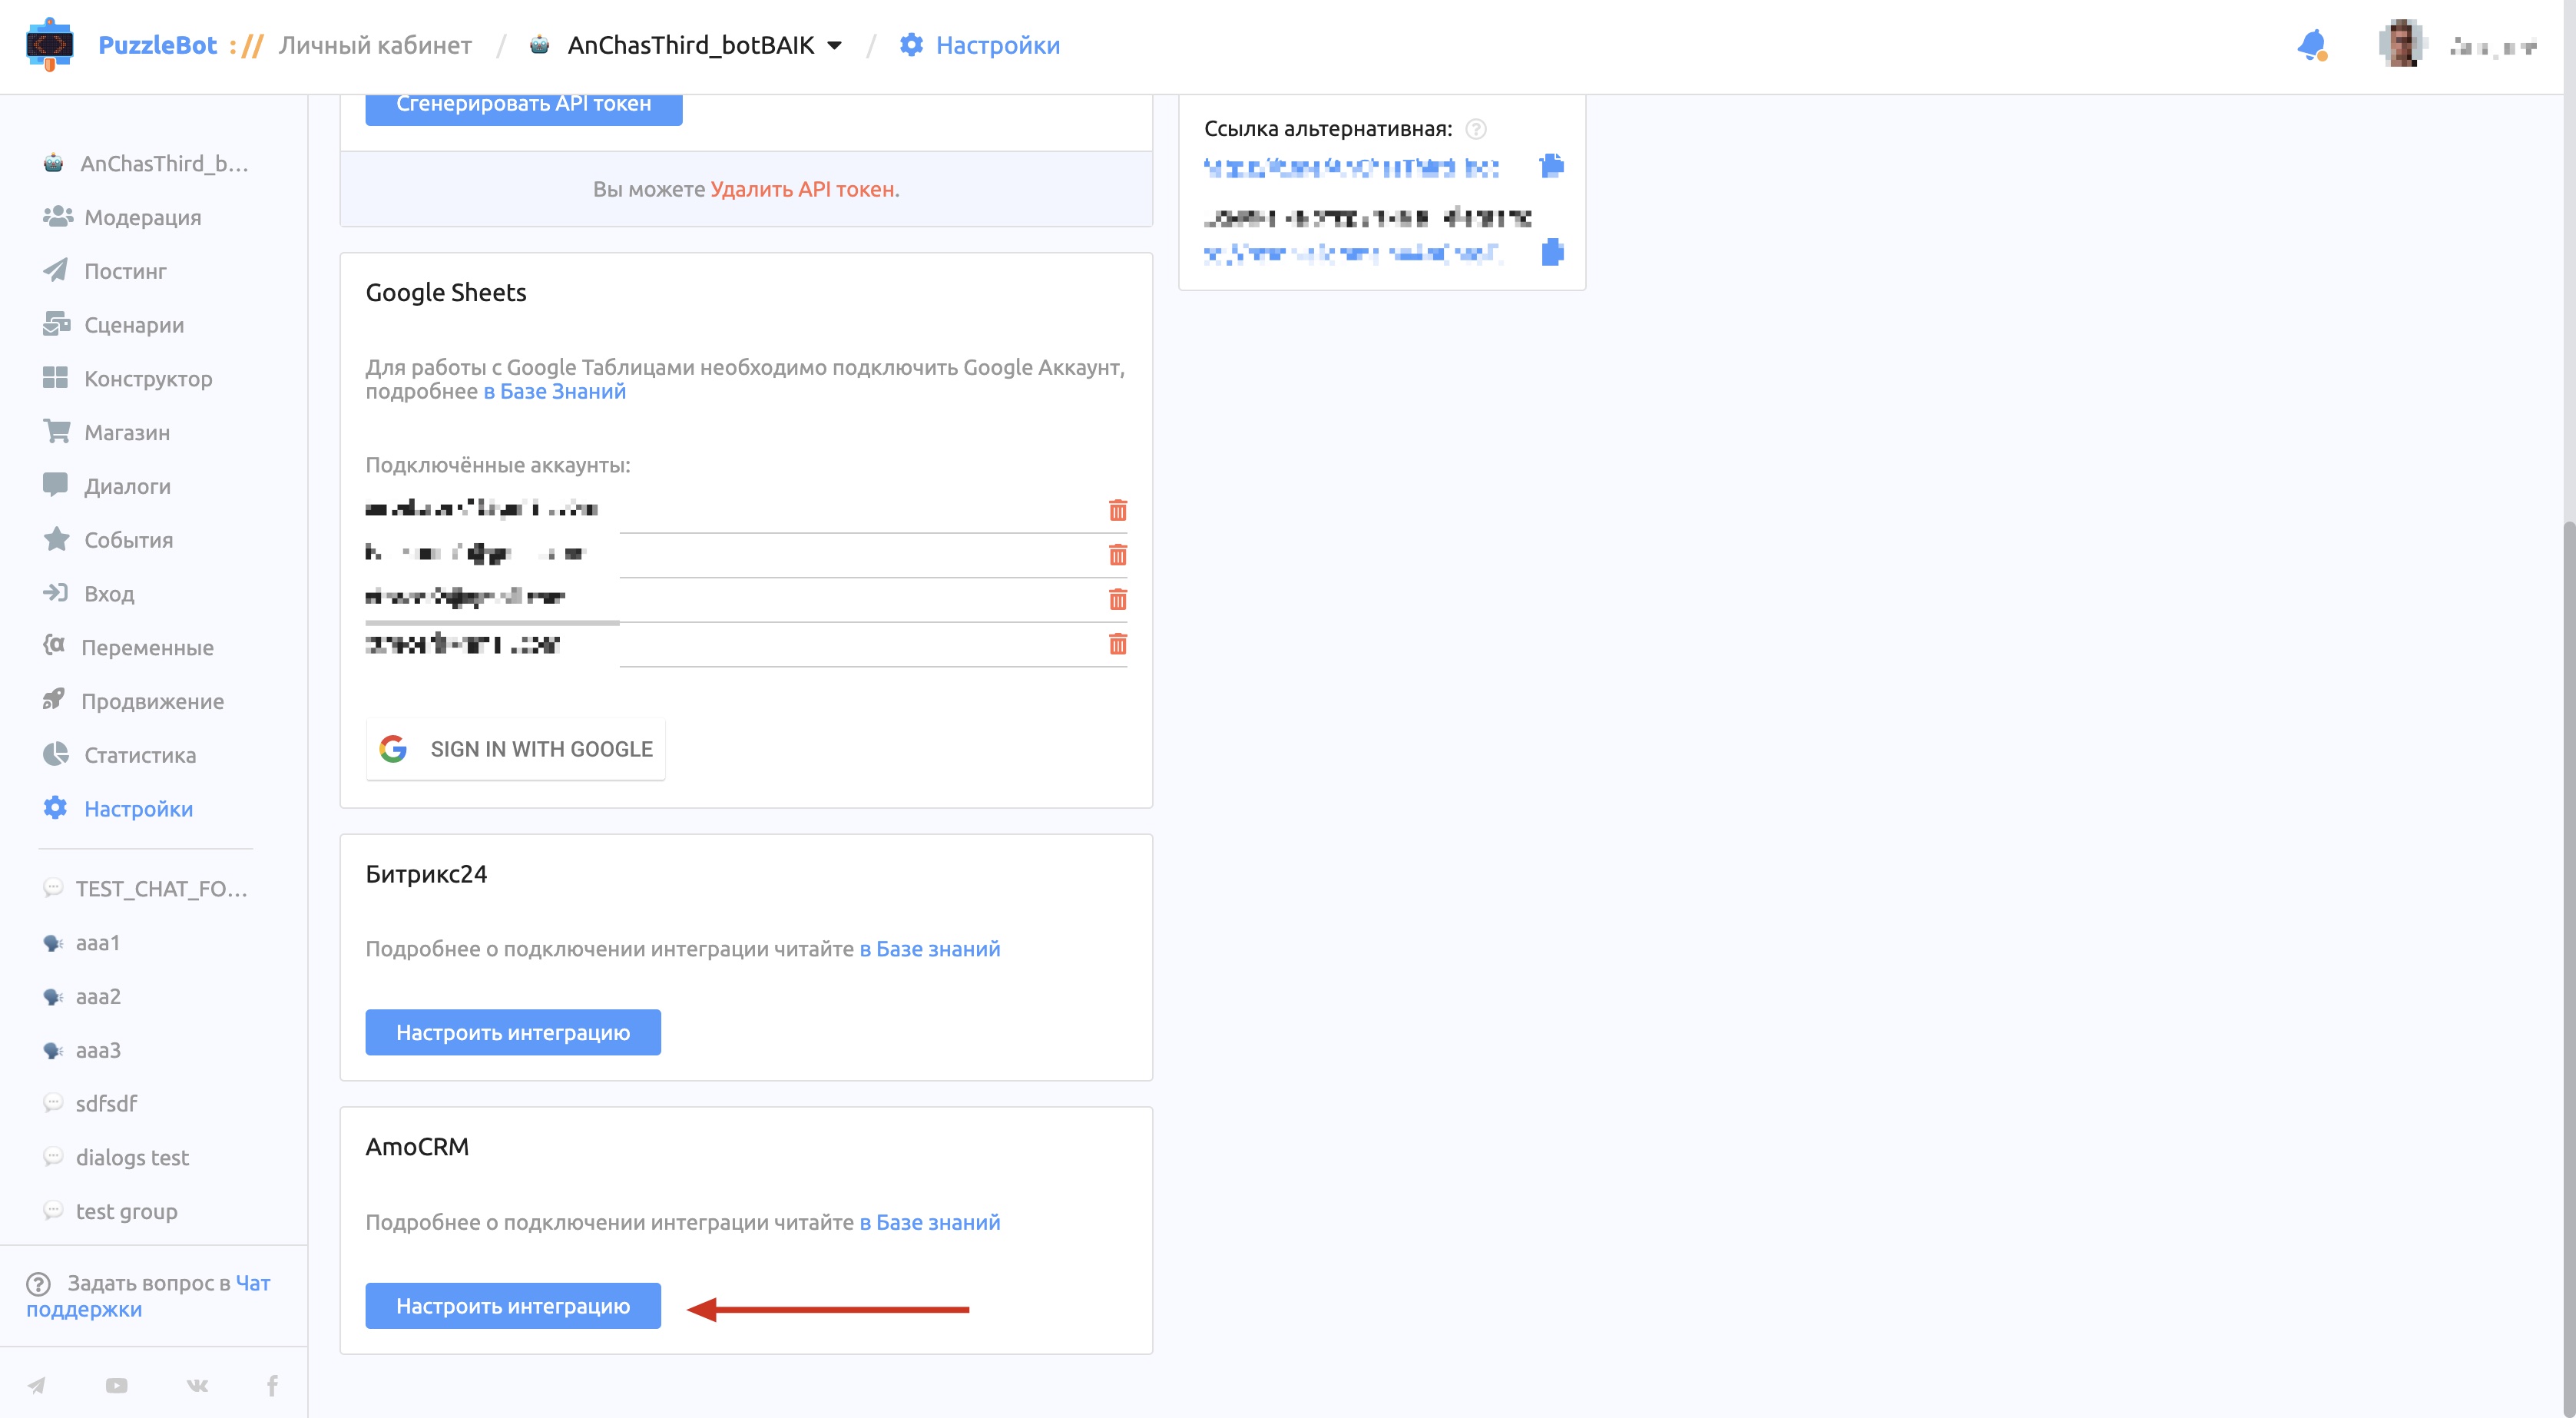
2. Go to the integration settings in your puzzlebot account: Bot — Settings — Integrations — amoCRM — Set up integration.
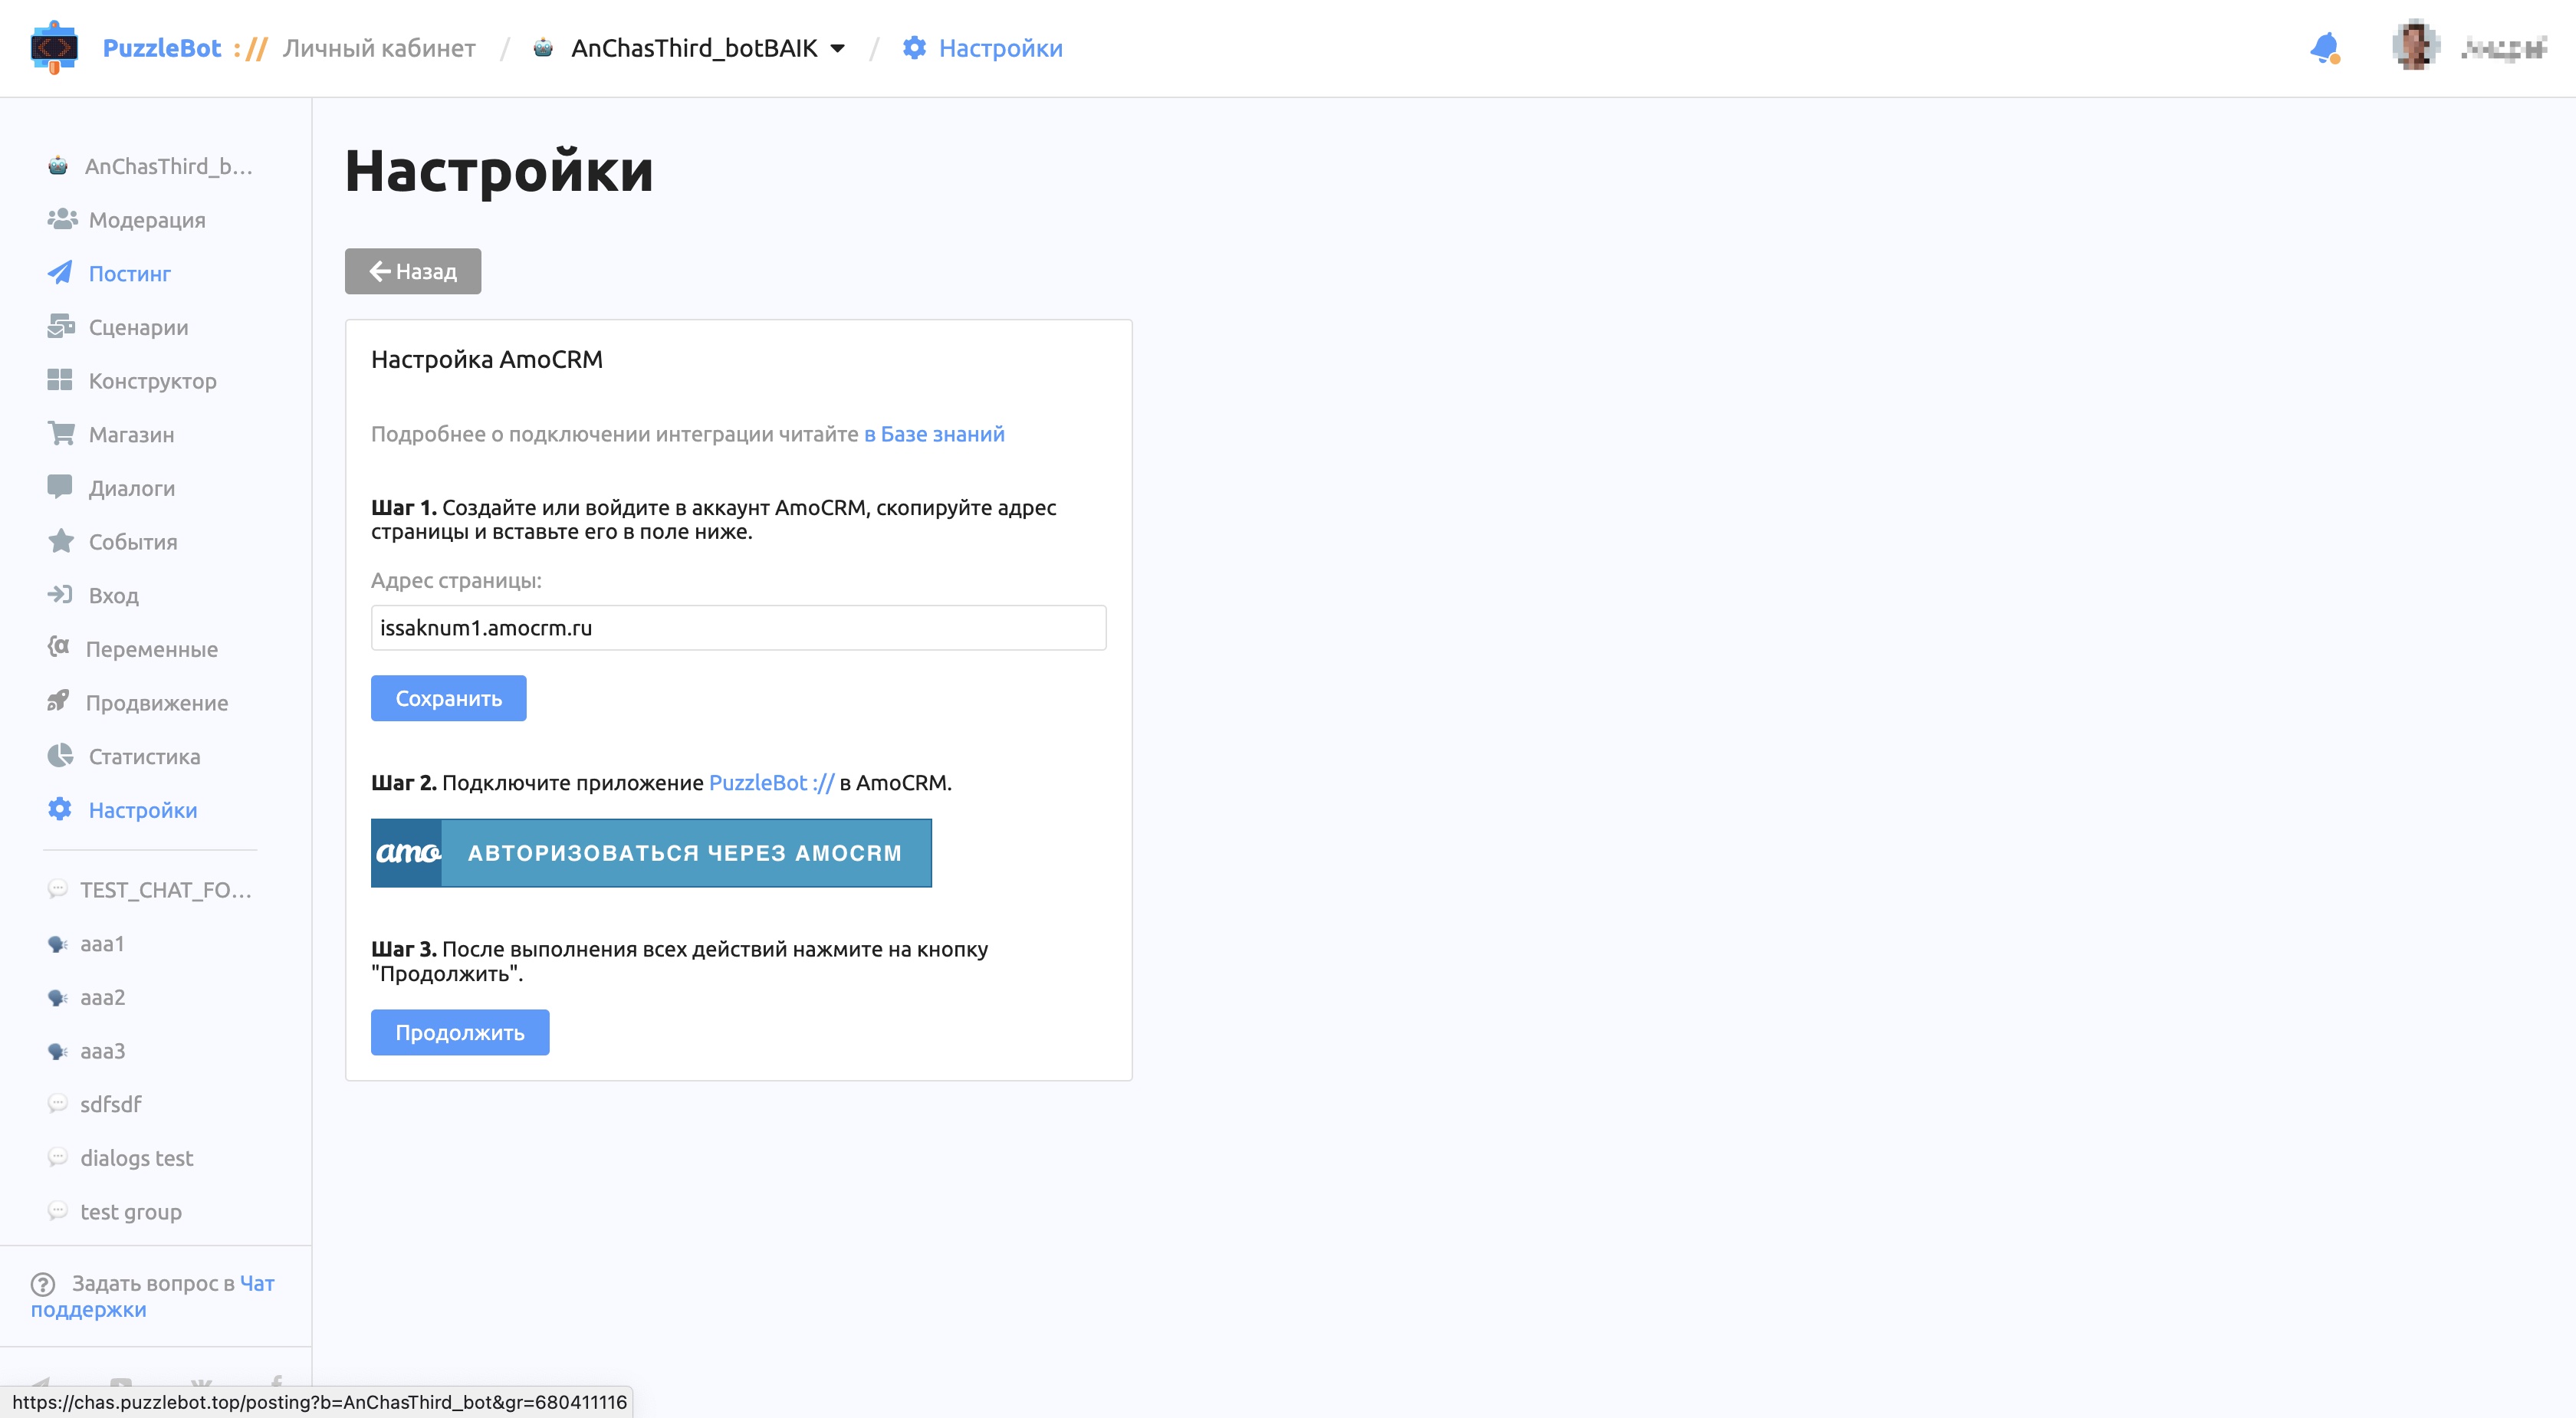
3. Paste the copied link to your amoCRM account into the input field of the first step and click "Save".
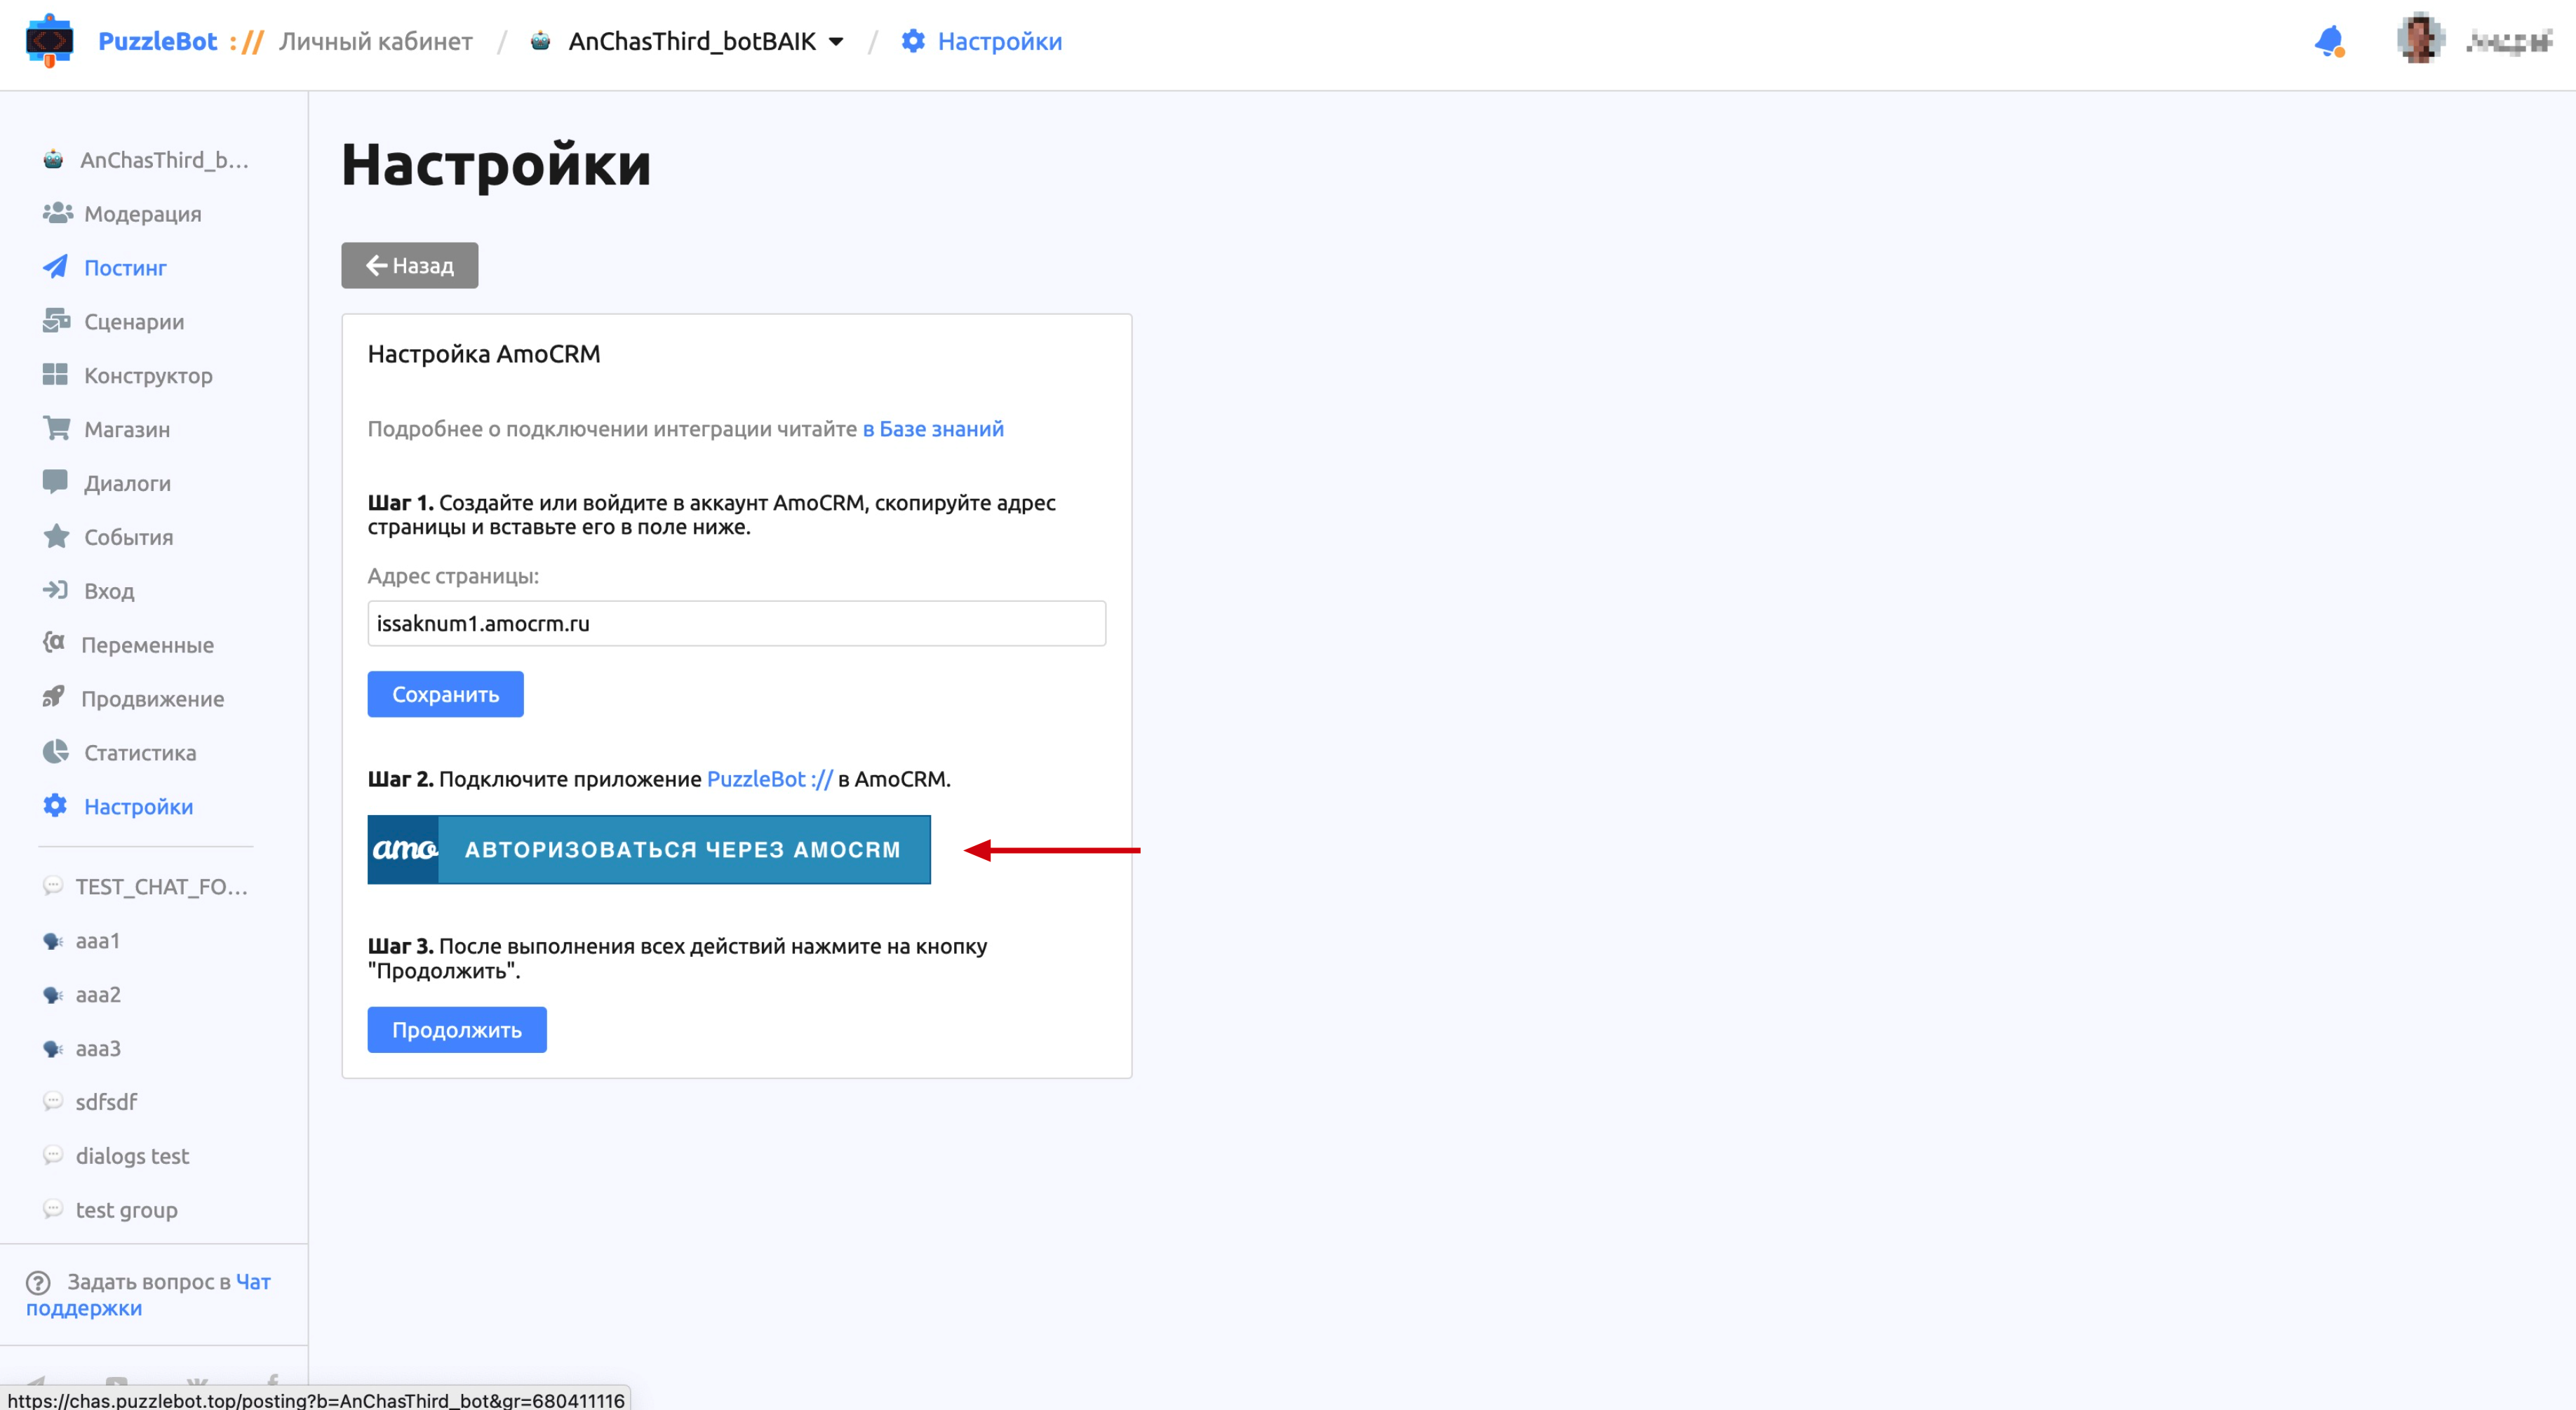
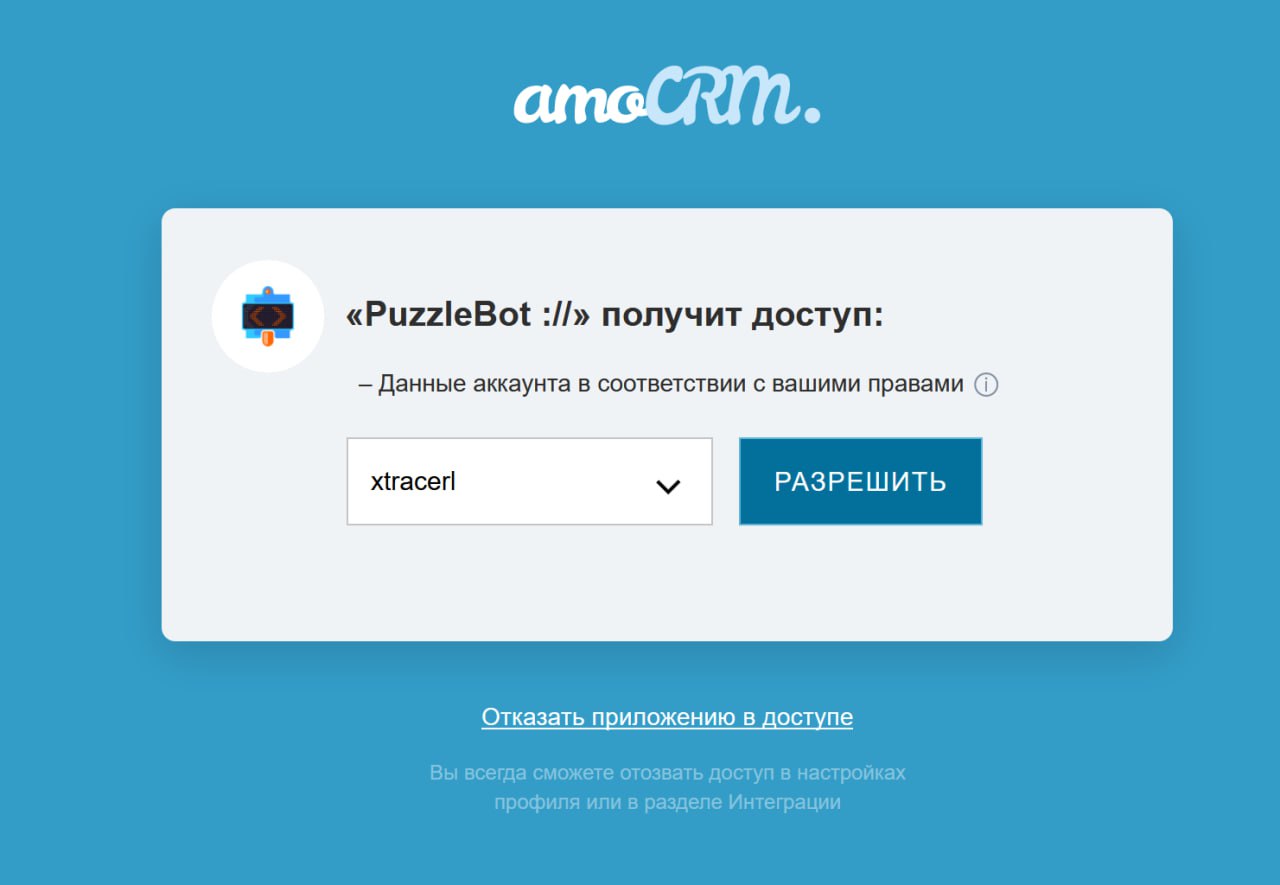
4. Use the button in the second step to go to your amoCRM account and allow access for the puzzlebot app.
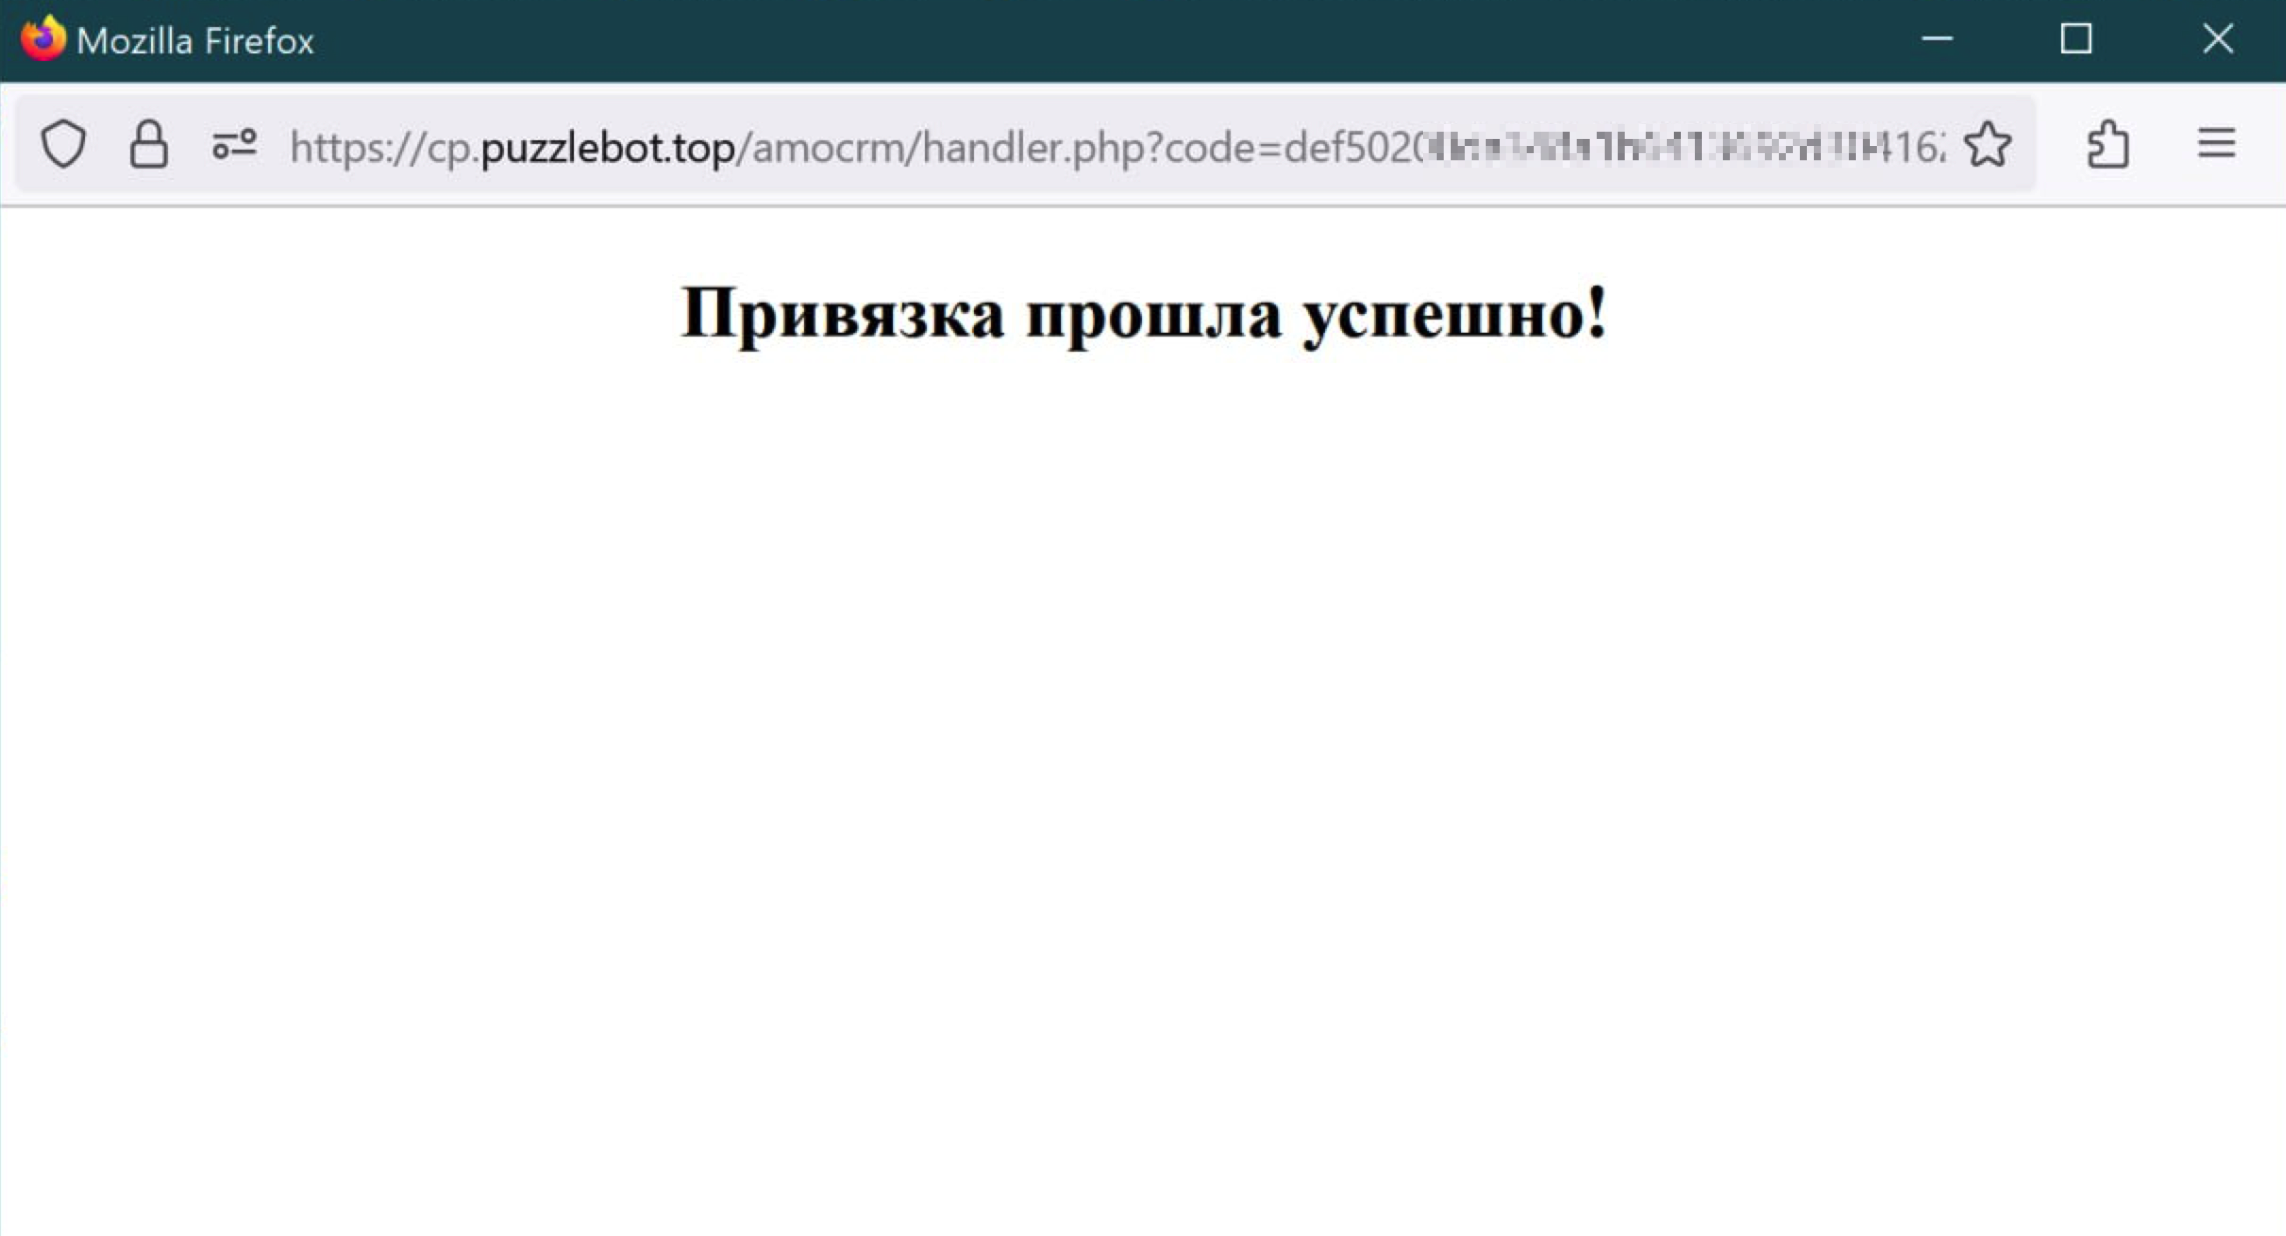
5. When the installation is finished, an app window shows the result of linking the accounts.
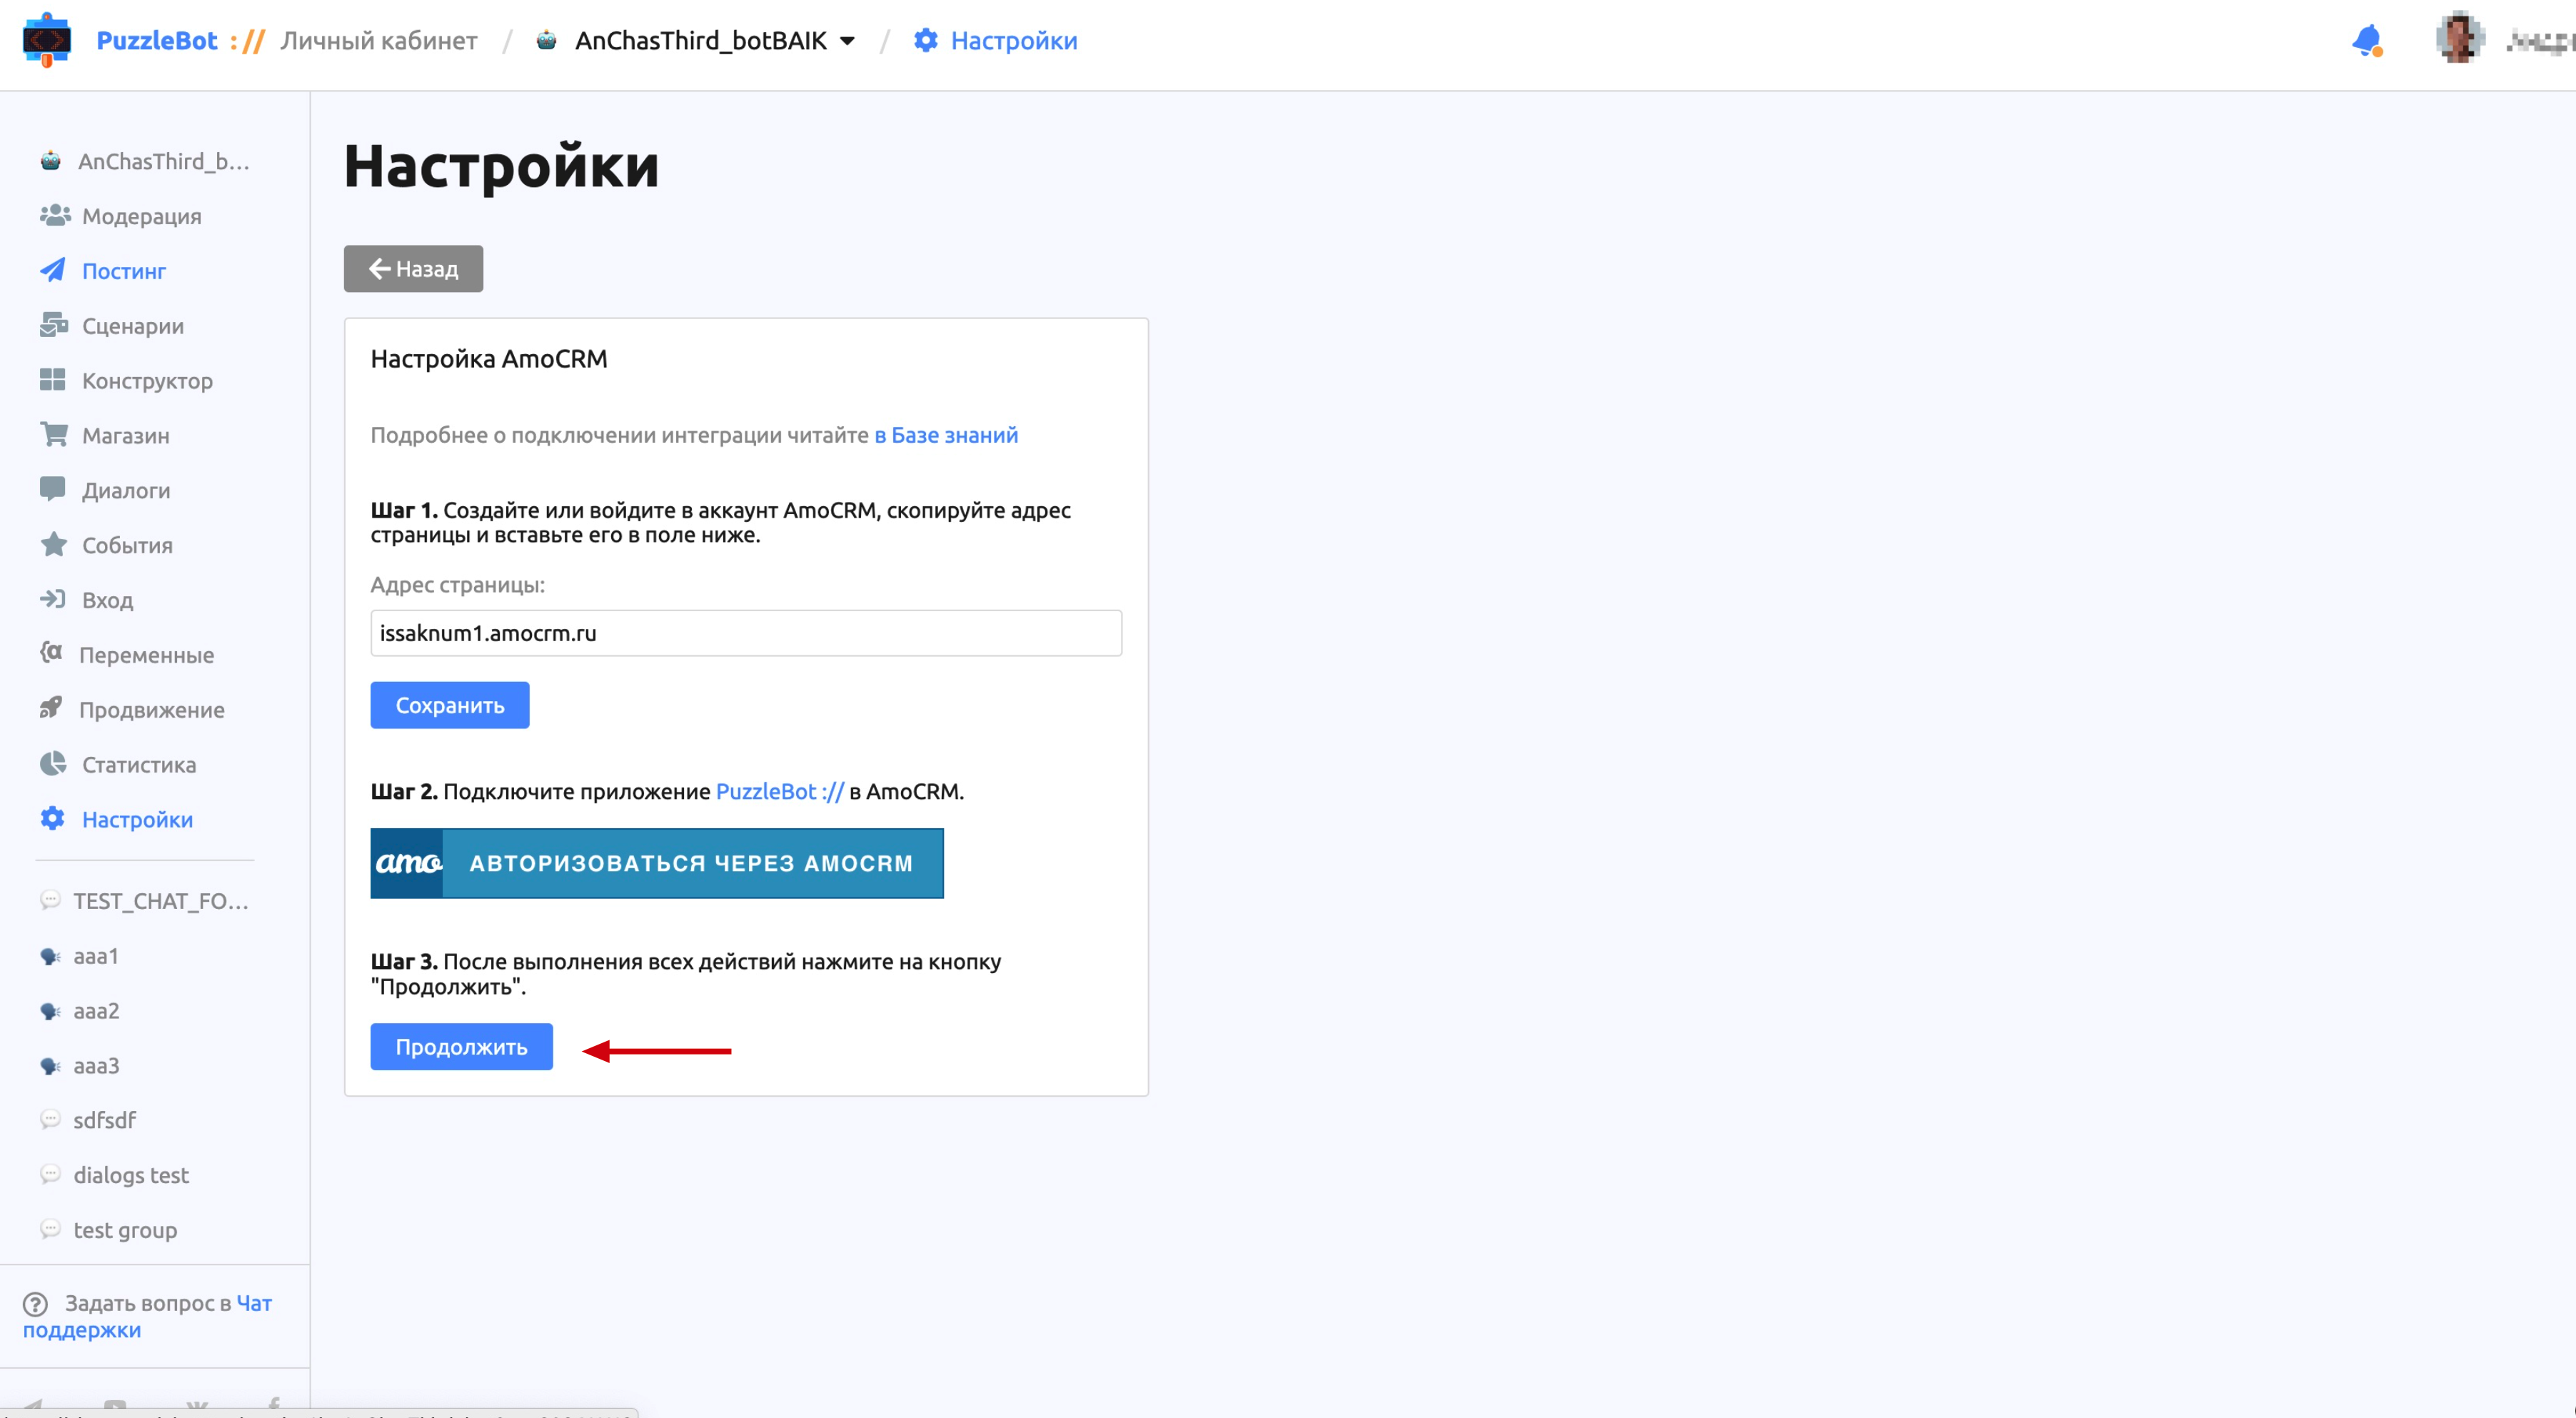
6. Go back to your puzzlebot account and click "Continue".
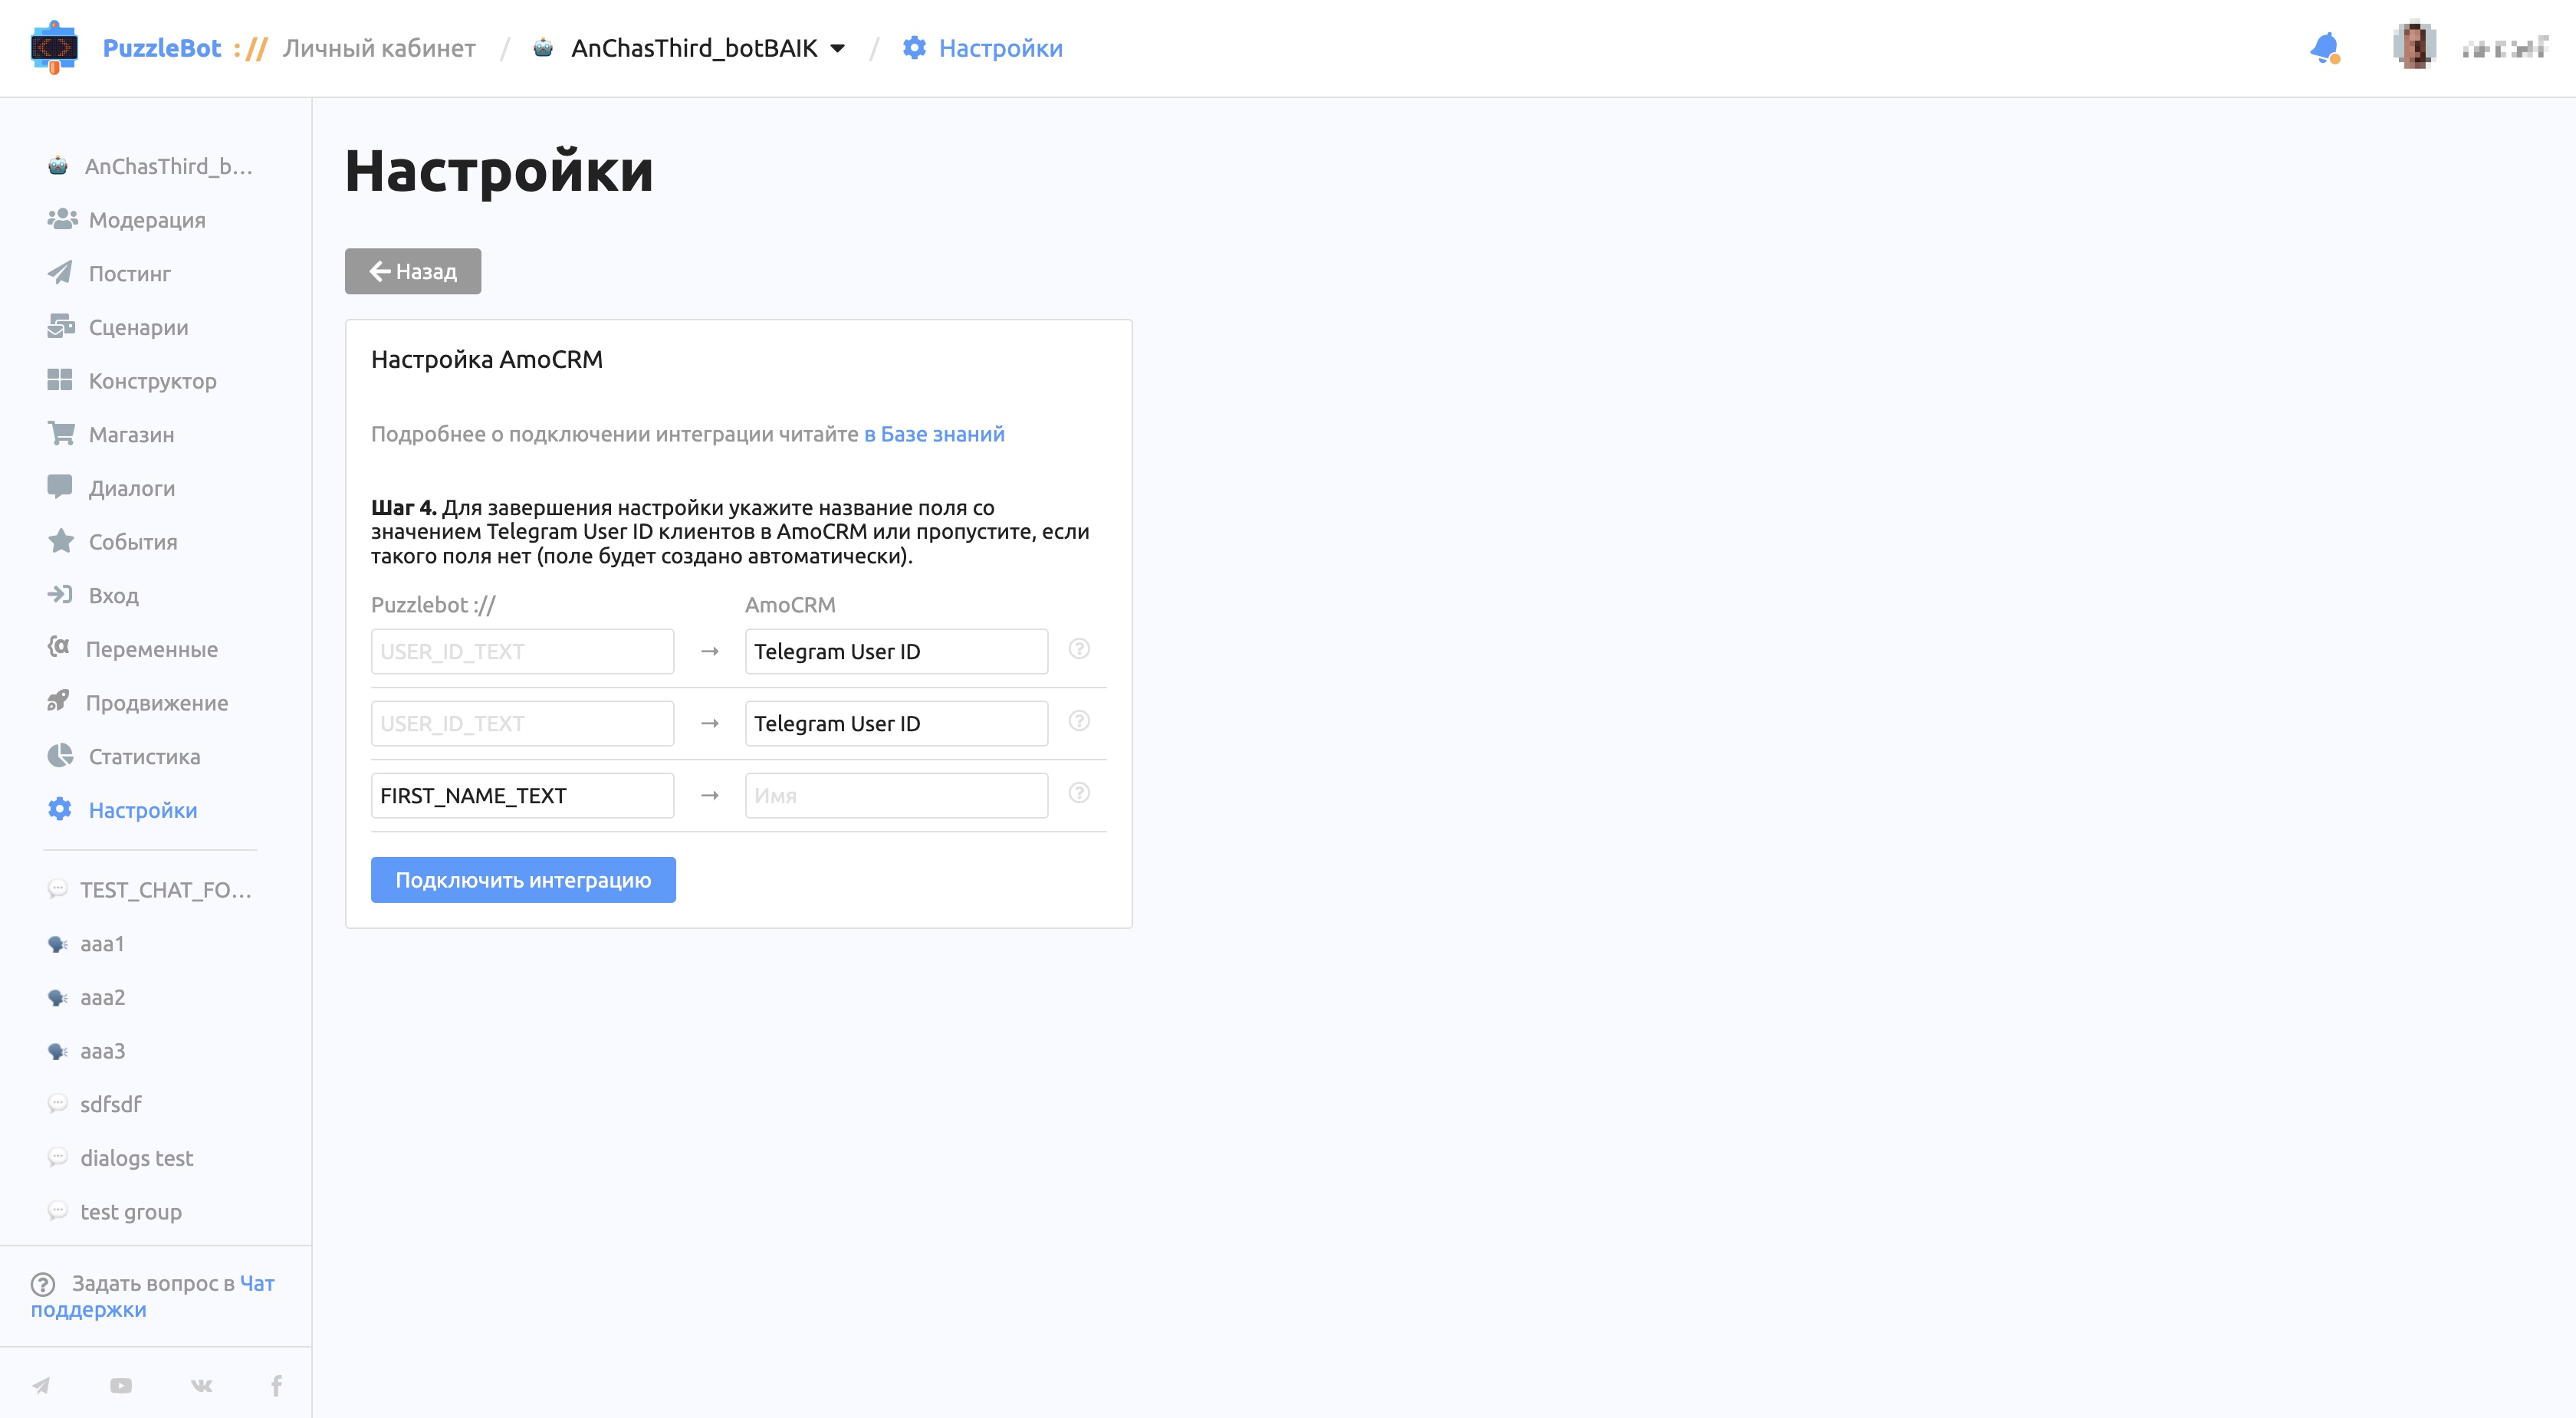
7. Specify the fields and variables for saving the user's Telegram User ID and Name, or leave everything as is, and click "Connect integration".
Important! The first line passes the Telegram User ID to the lead, and the second one to the contact.
Settings
Let's go through the integration settings tab by tab.
Important! All actions with contacts and leads are based on the user's Telegram User ID. If this field is changed in amoCRM, the action will not be performed.
Contacts
On this tab, you can:
Set up synchronization between amoCRM contacts and your bot's users.
Add bot users to amoCRM as clients in a one-time import.
Add amoCRM clients to the bot as users in a one-time import.
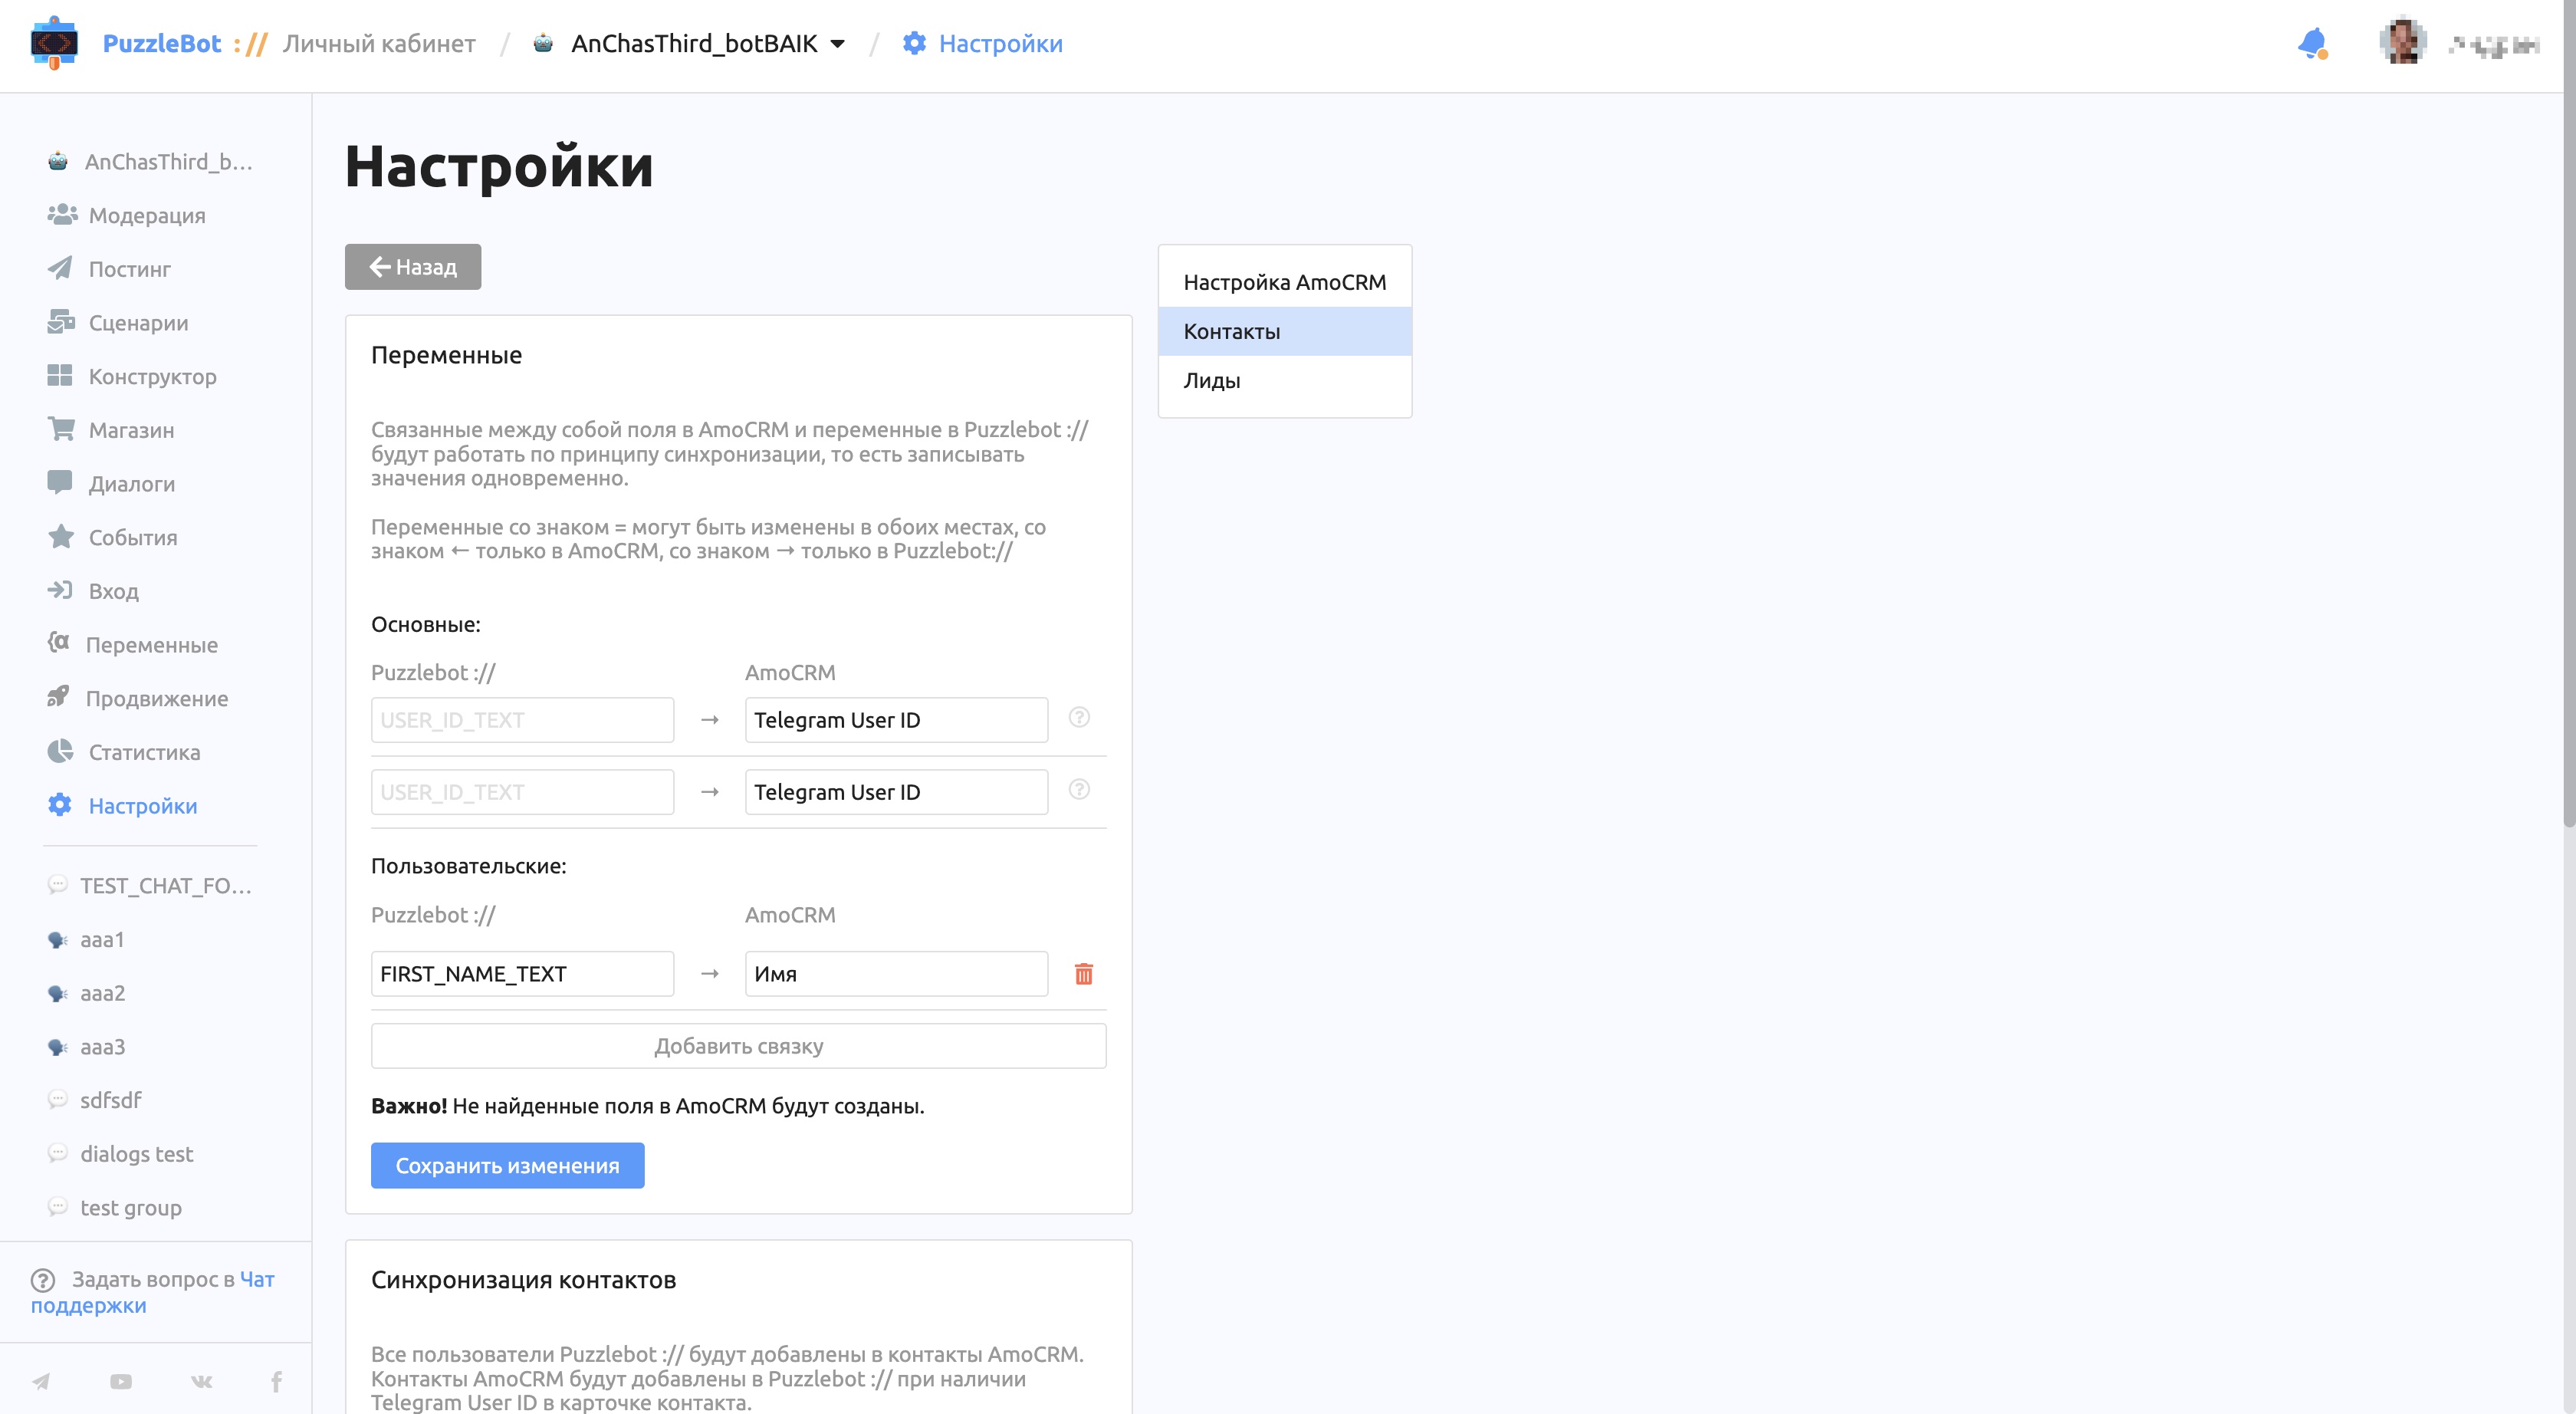
Before doing any of the above, link puzzlebot variables to contact fields in amoCRM.
You can enter names of fields that do not exist yet, and they will be created automatically.
Important! While synchronization is active, linked variables and fields are updated with the latest information wherever it was changed. That is, if you change a value in an amoCRM field, the value of the puzzlebot variable changes too, and vice versa. Links marked with arrows are an exception.
To activate synchronization, click the corresponding button. Synchronization stays active until it is canceled or the link to the amoCRM account is changed.
Leads
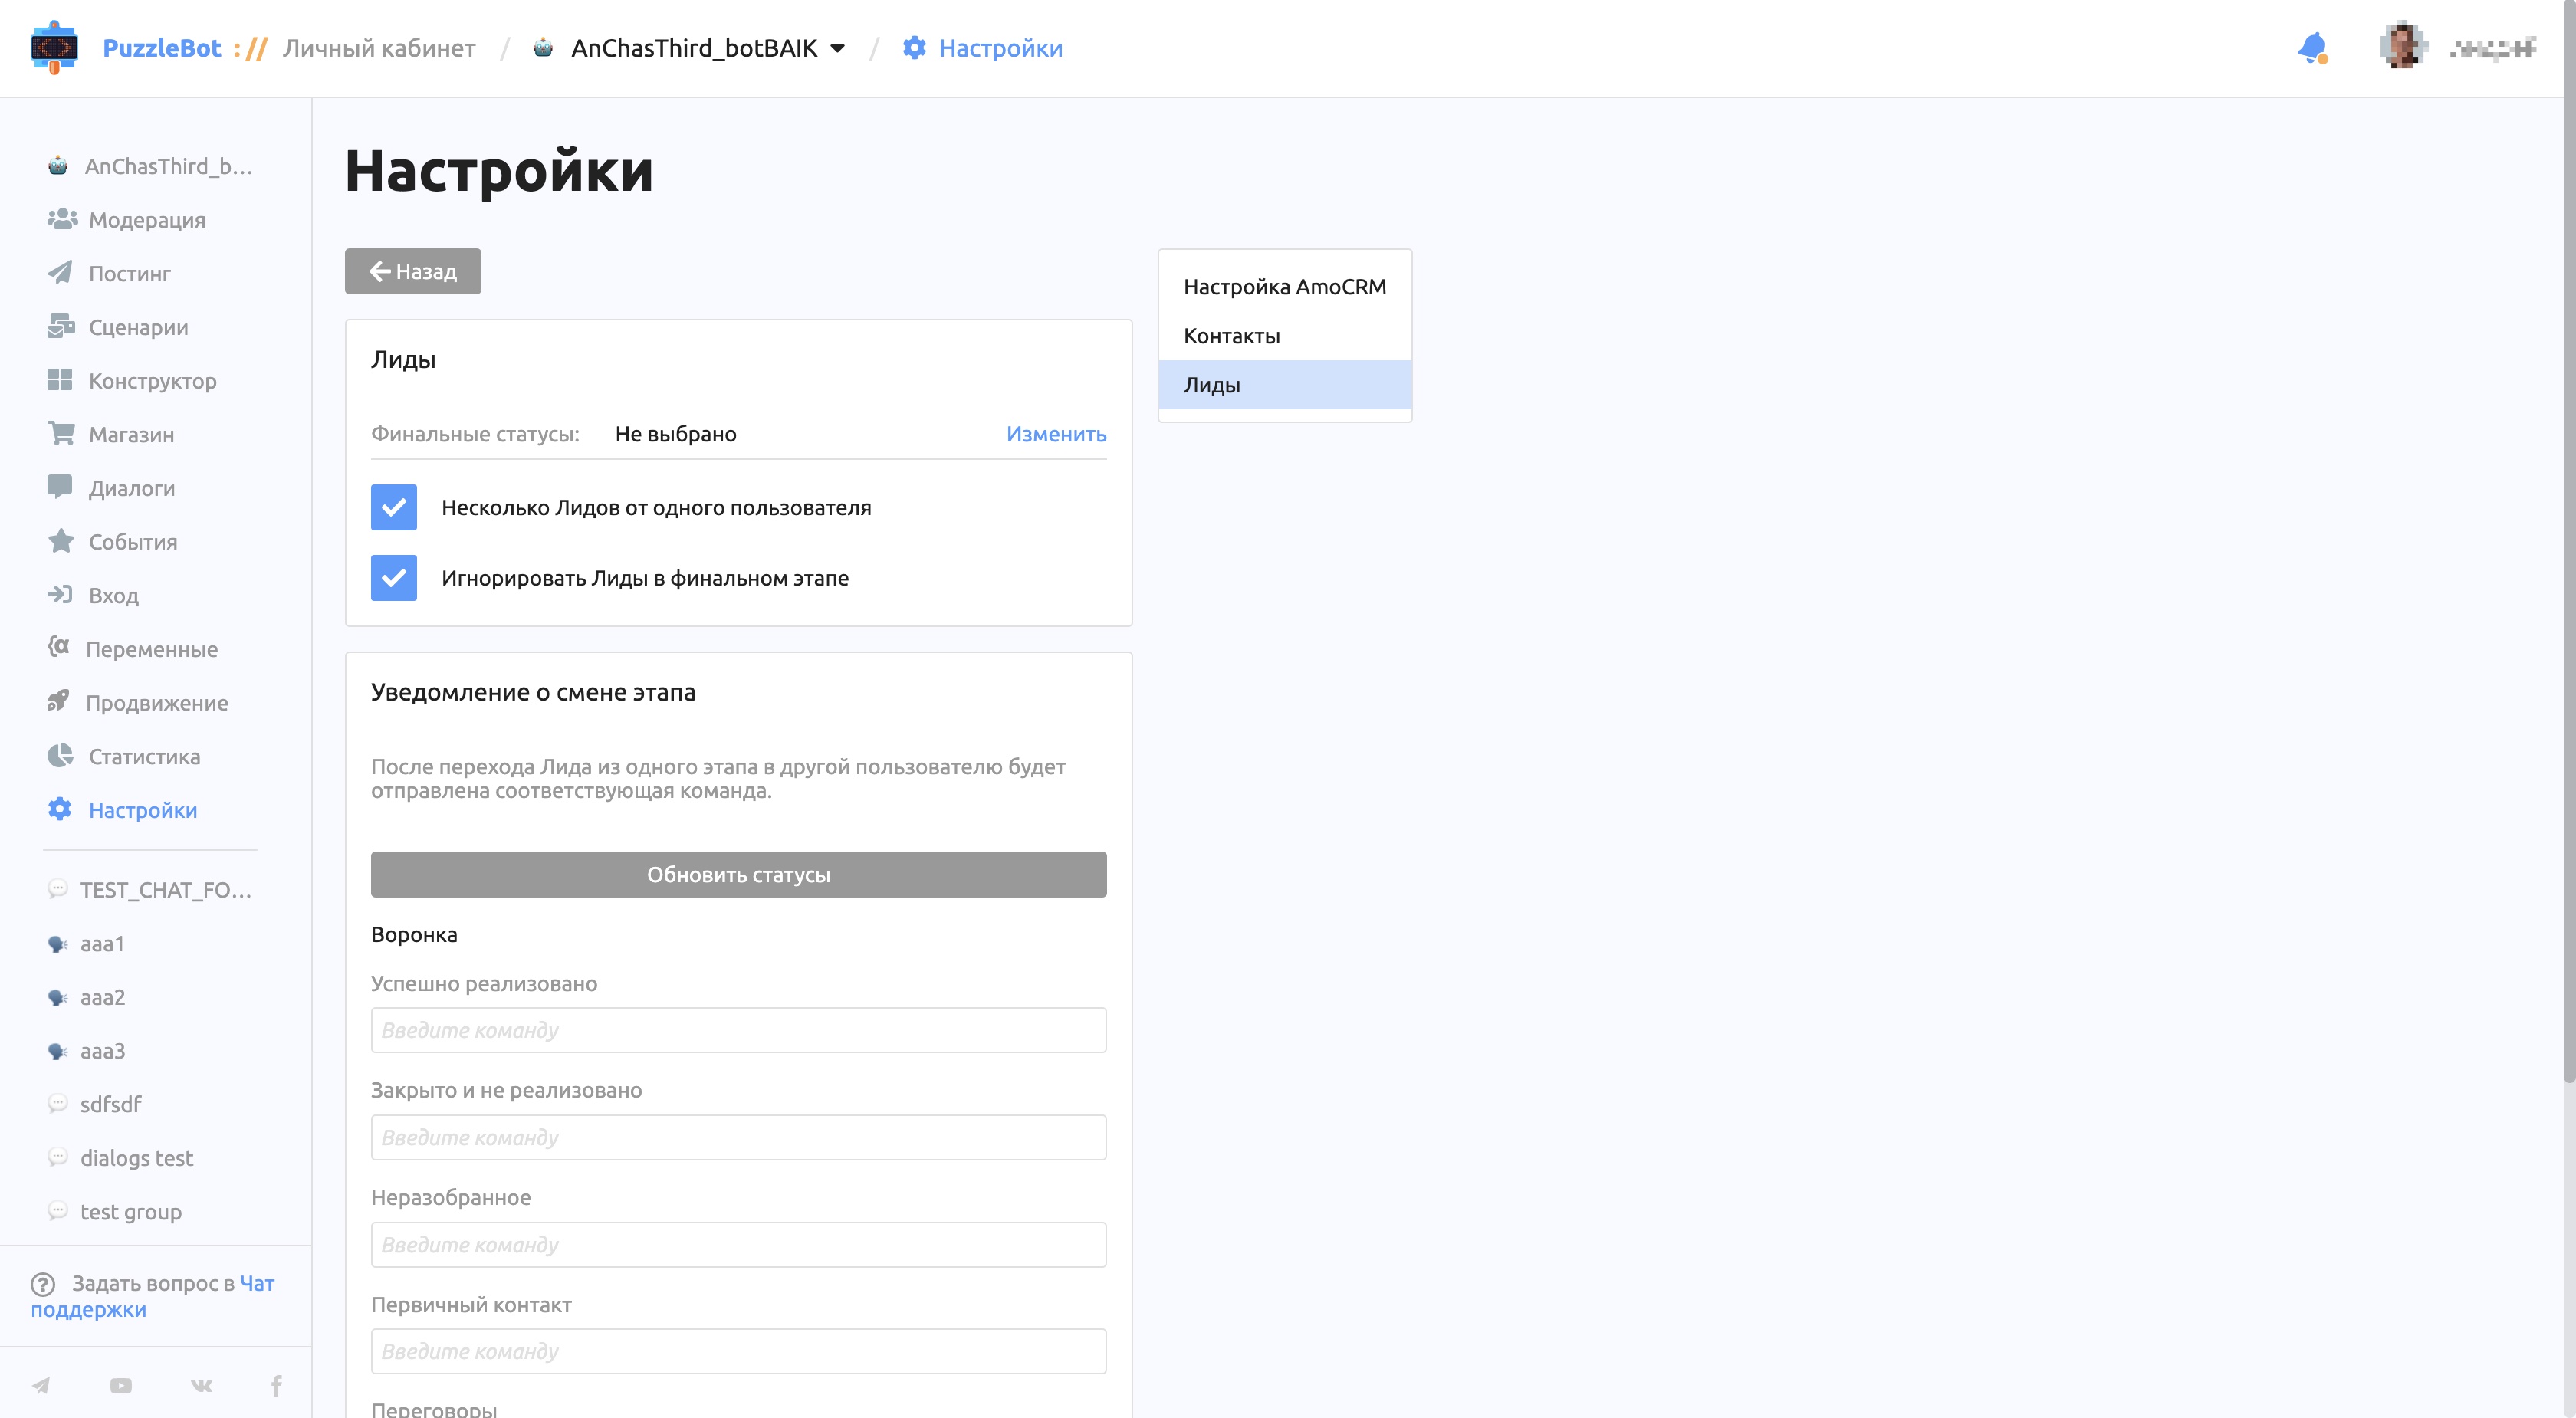
Final statuses — this setting defines from which status the system may ignore leads.
For example: a lead existence check returns a negative result if the lead has moved to a final status.
Several Leads from one user — allows 2 or more Leads to be created from one user.
Ignore Leads in a final status — works together with the final statuses setting and allows or forbids ignoring.
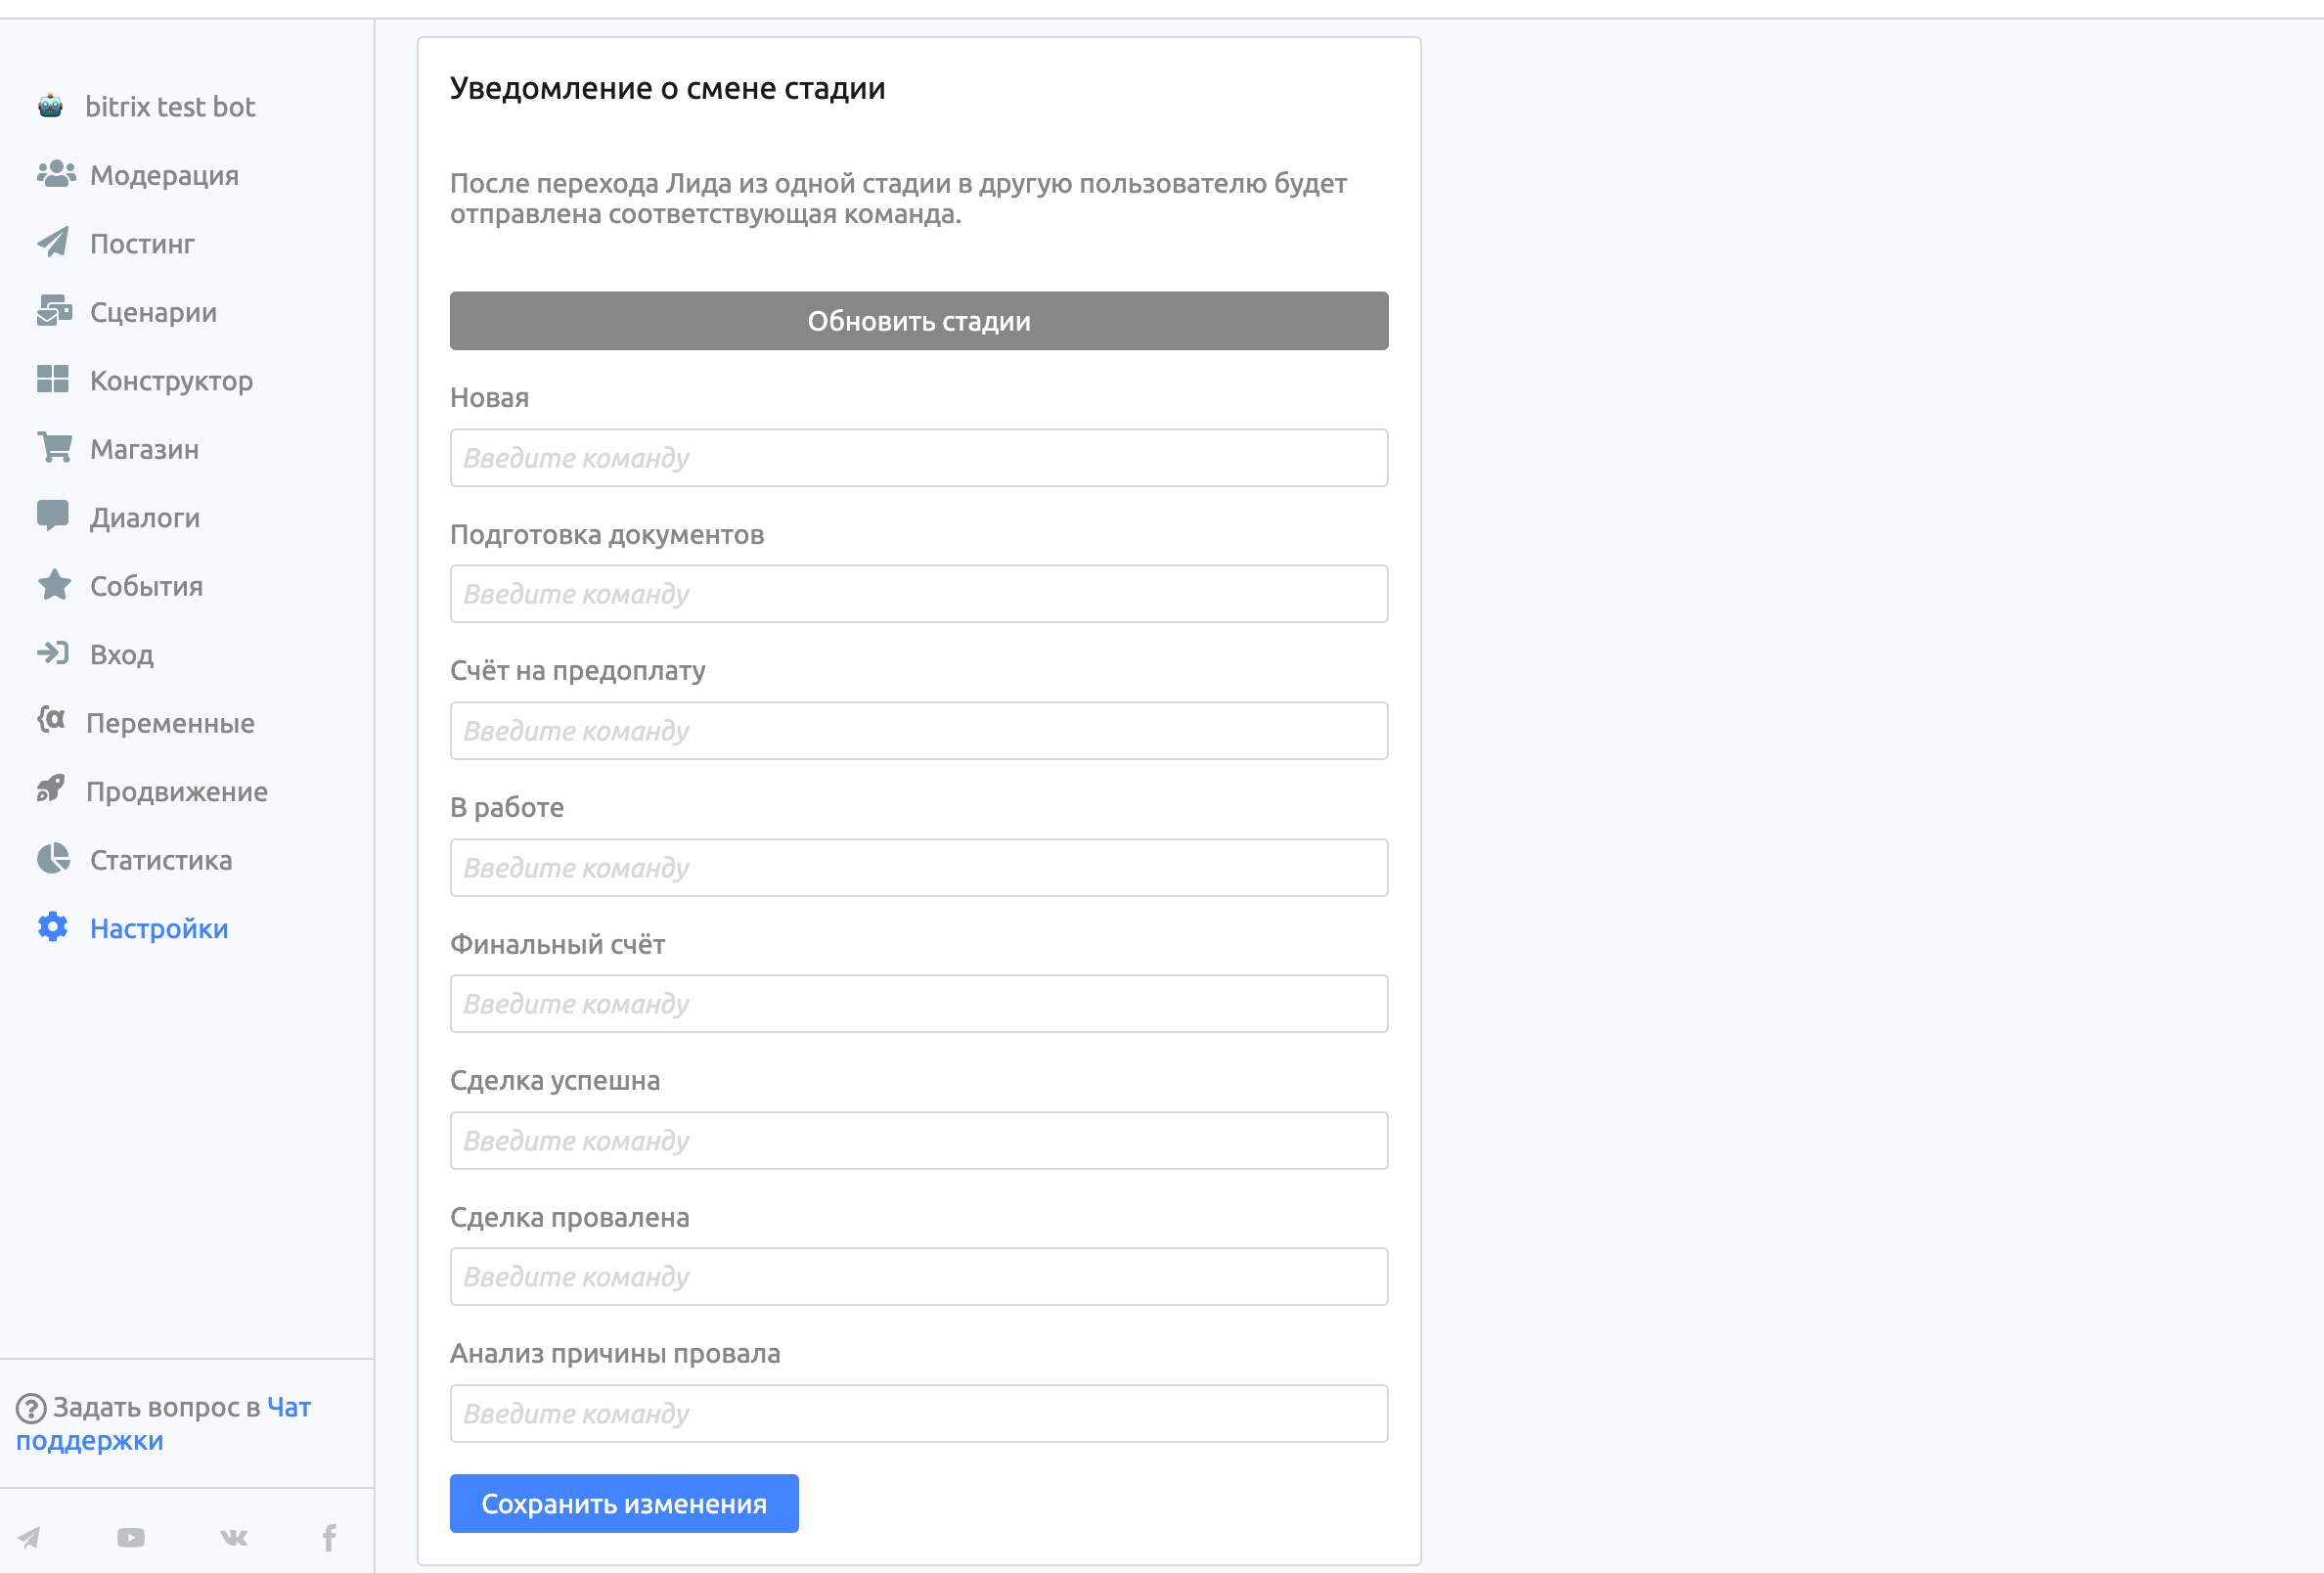
Stage change notification — lets you set up sending a command when a Lead moves from one status to another.
Important! When the Ignore Leads in a final stage option is on, the notification for a final status is not sent.
Actions
Let's go through the types of actions available for working with amoCRM.
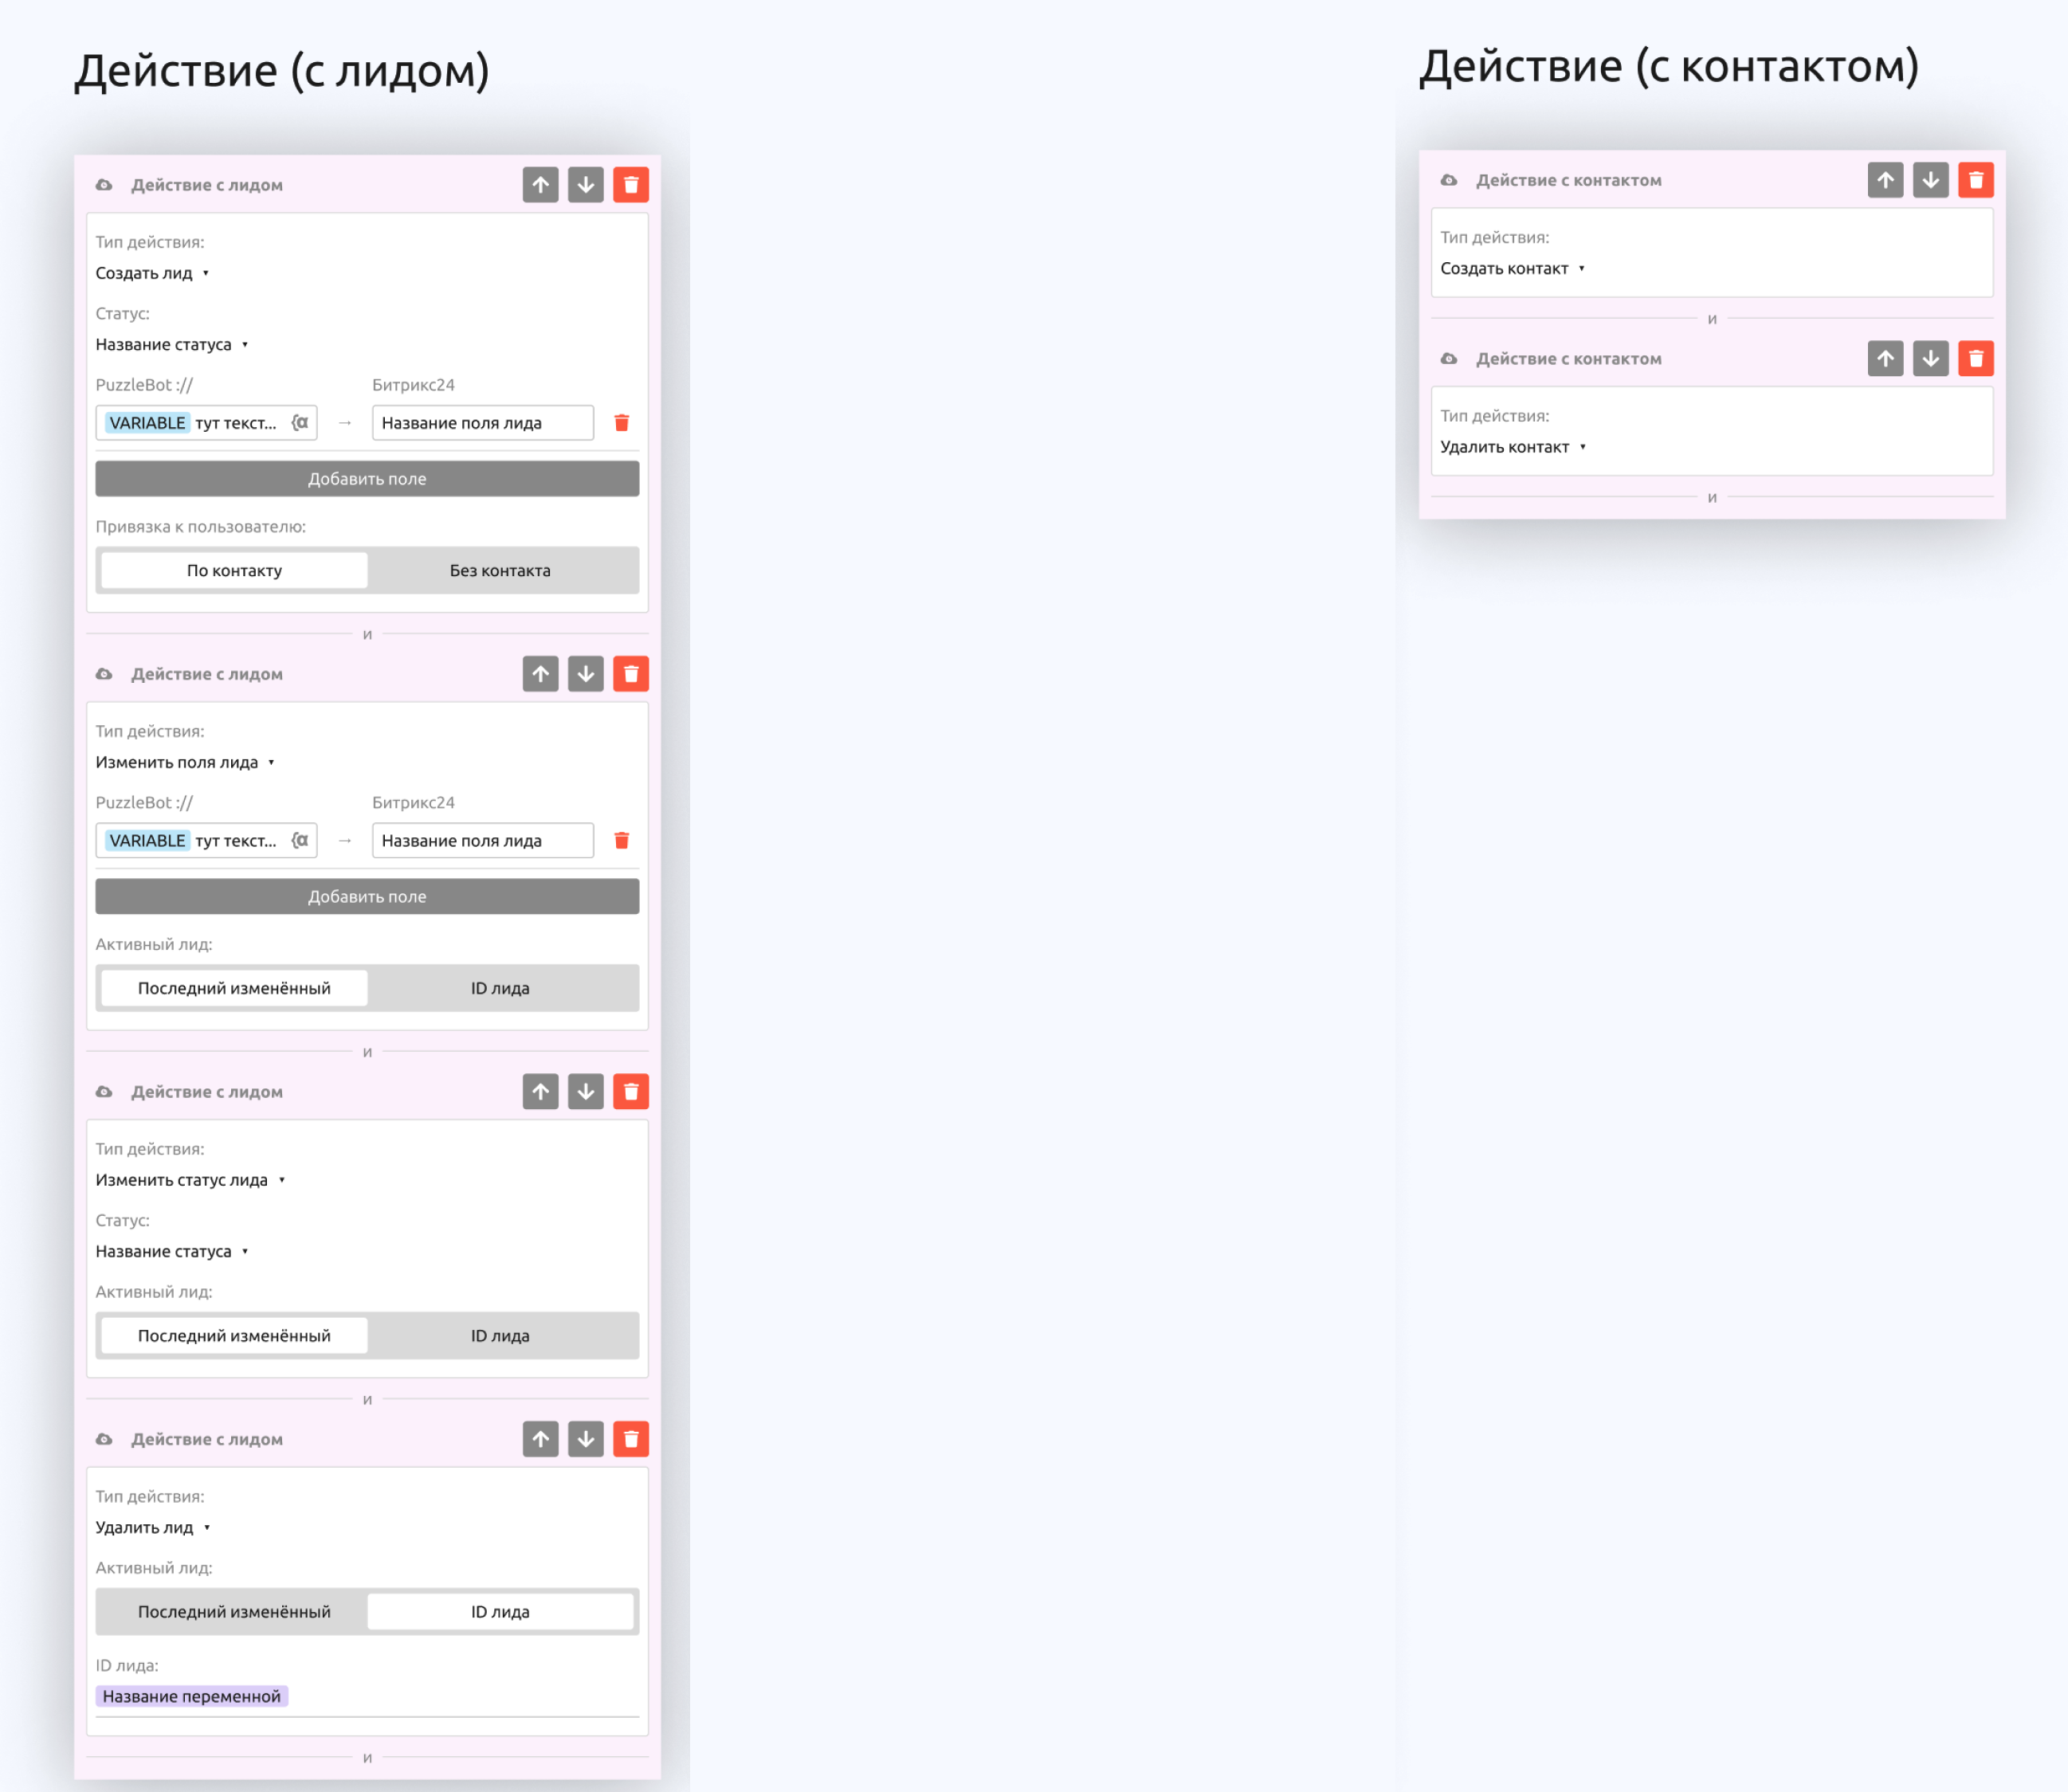
Deals and Leads
The following types are available:
Create lead
Change lead field
Change lead status
Delete lead
Most of the settings are self-explanatory. Let's look at the special ones:
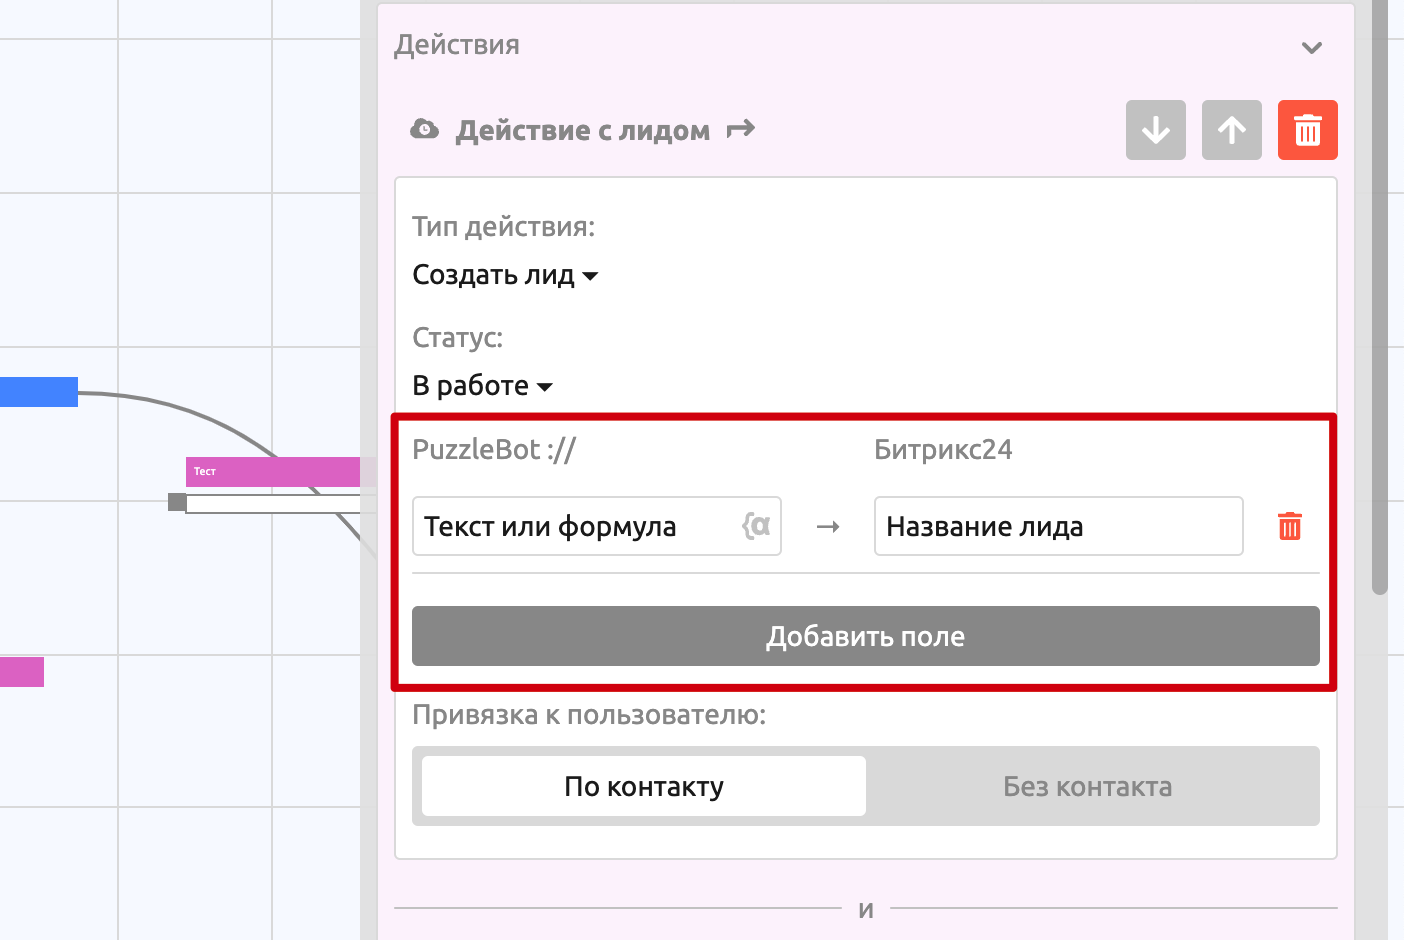
Write to field — writes the value specified on the puzzlebot :// side to the specified field inside the lead. On the puzzlebot :// side, the input line can contain text, a number, a formula or a variable.
Important! You cannot write to lead fields that do not exist.
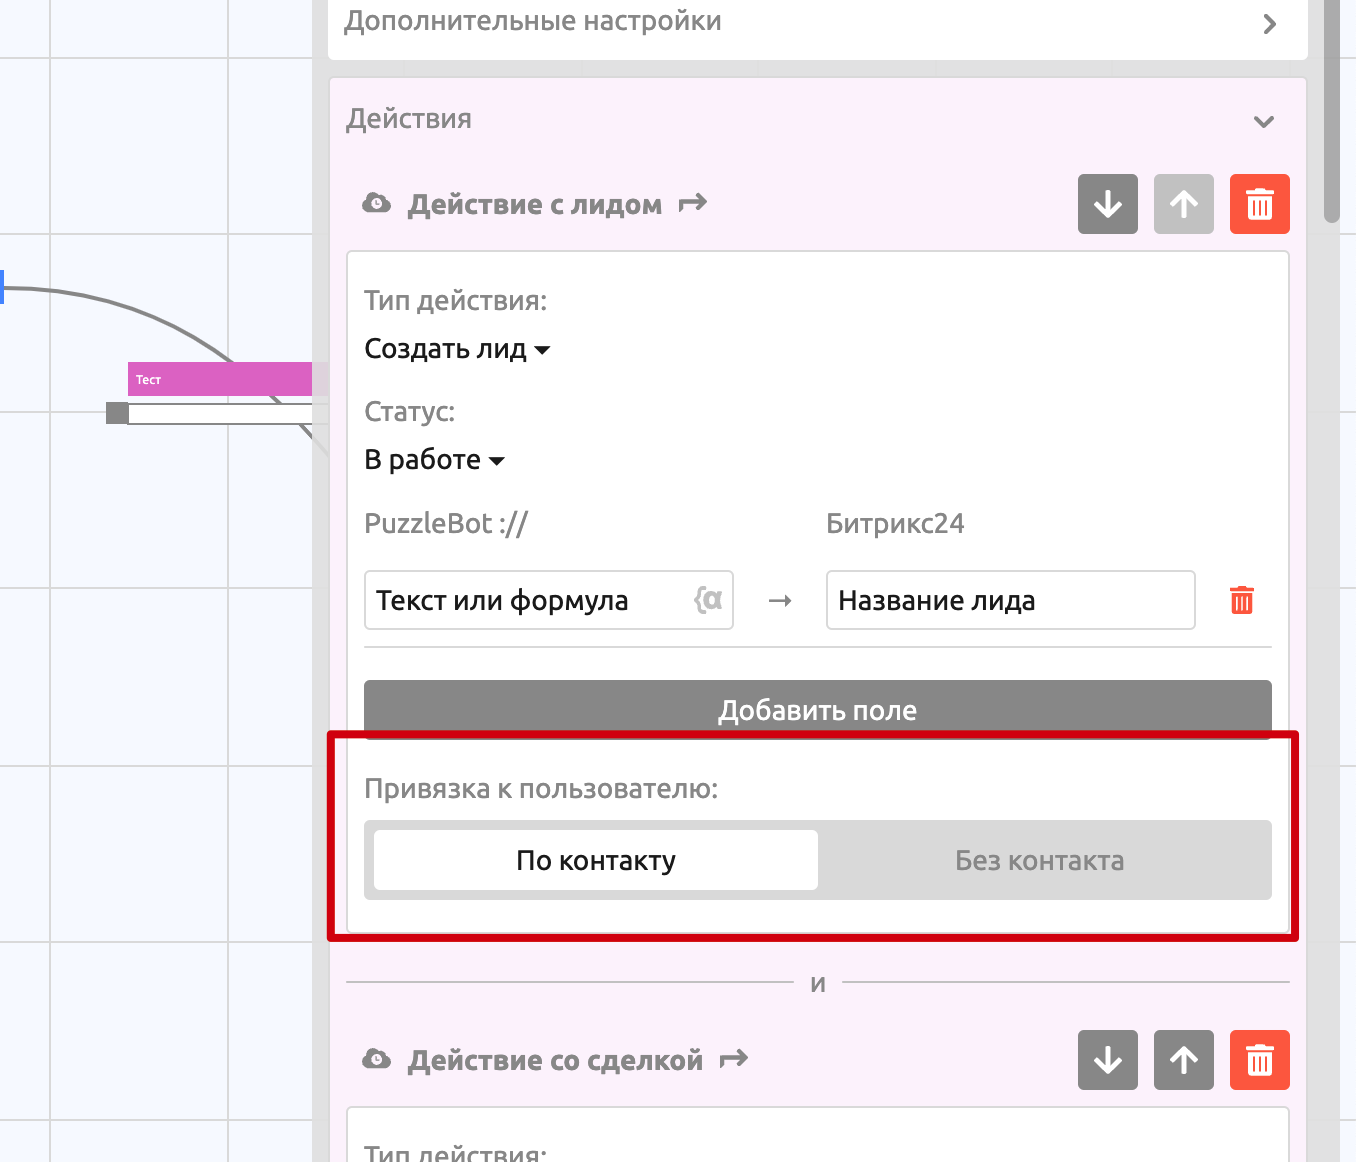
Link to user — defines what is shown in the lead information: the contact or the user's Telegram User ID.
Important! If you select "By contact", the contact must already exist in amoCRM. With active synchronization, this is done automatically.
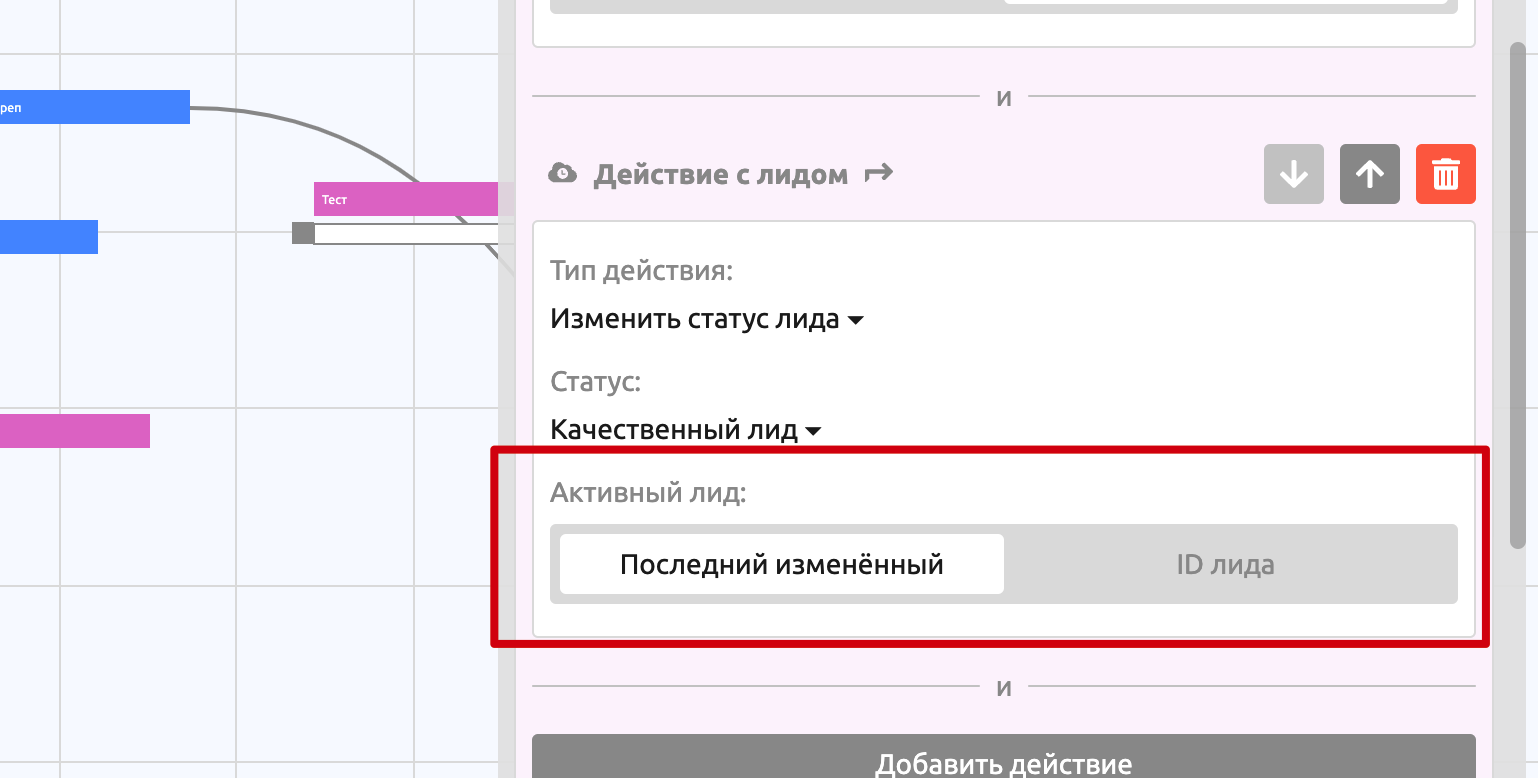
Active lead — defines which lead or deal to work with. Relevant when the "Several leads / deals from one user" option is turned on in the settings.
Contact
The following types are available:
Create contact
Delete contact
Checks
Let's go through the types of checks available for working with amoCRM.
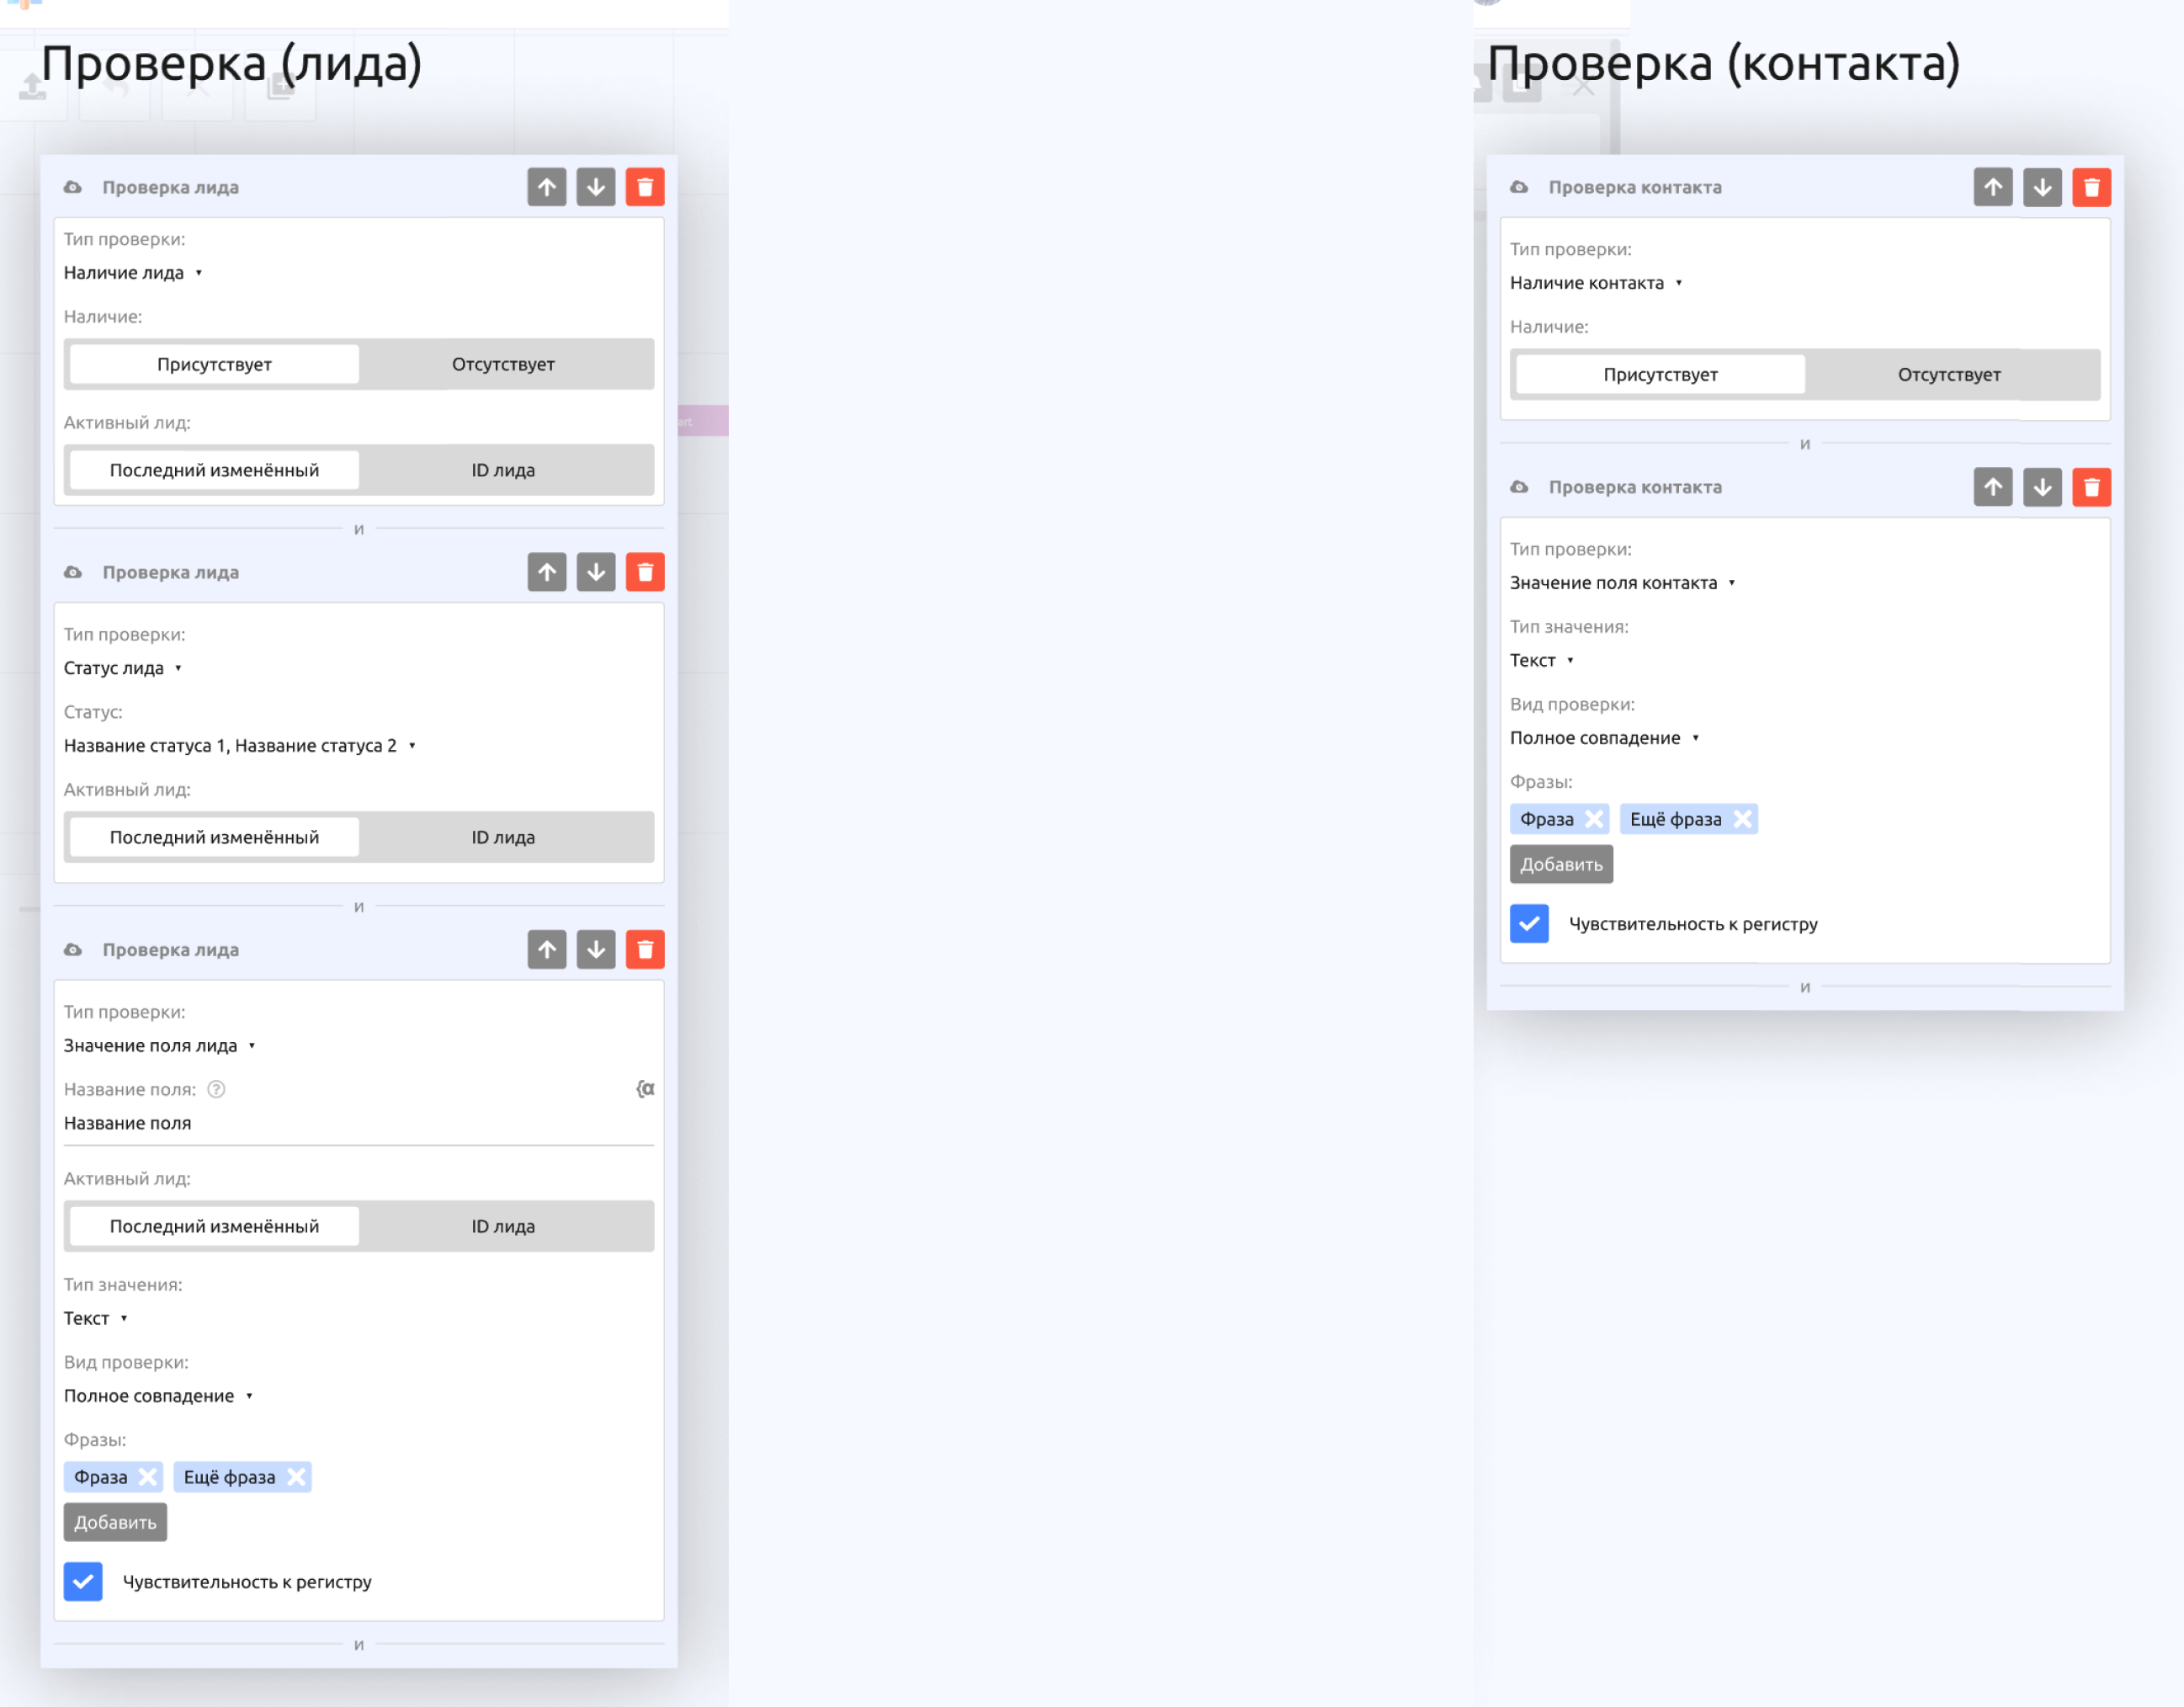
Leads
The following types are available:
Lead exists
Lead status
Lead field value
Contacts
The following types are available:
Contact exists
Contact field value